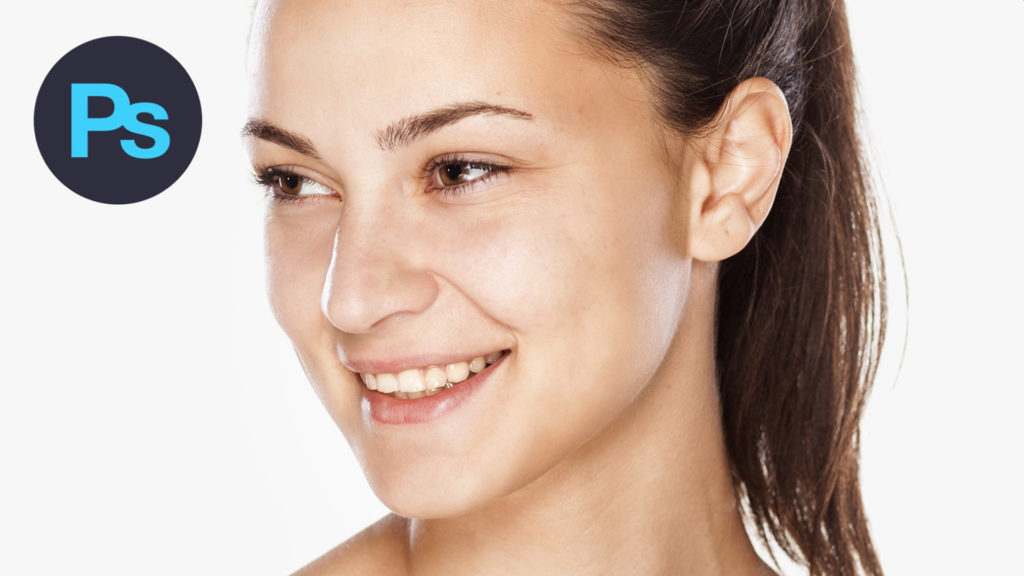
In this tutorial, we’re going to learn how to retouch or airbrush skin in Adobe Photoshop.
The Steps (1-8)
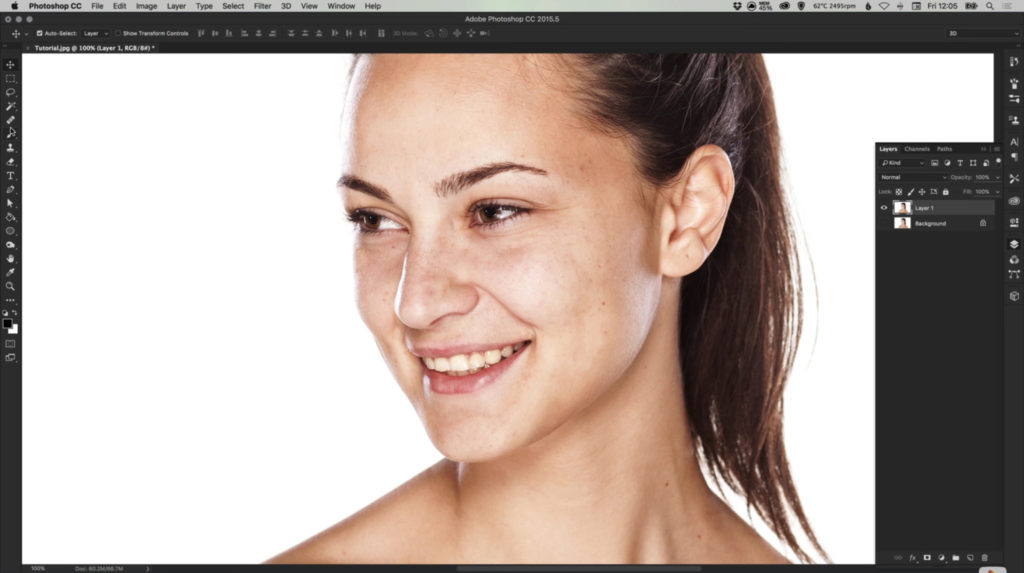
1. Open your photo in Photoshop.
2. Right-click your Background Layer and select Duplicate to create a copy.
3. Select the Heal Brush Tool, and set the Brush Hardness to 0% for a soft/feathered edge. Holding Alt, Left-click on an area of smooth skin to sample, and then Left-click and paint over an area of skin that you would like to retouch and remove any imperfections (spots, scars etc.)
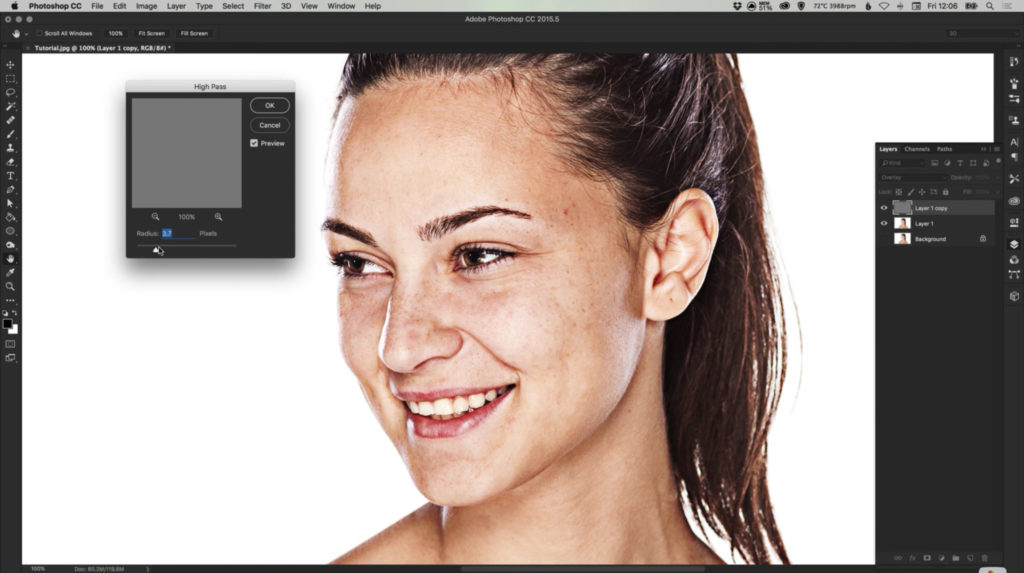
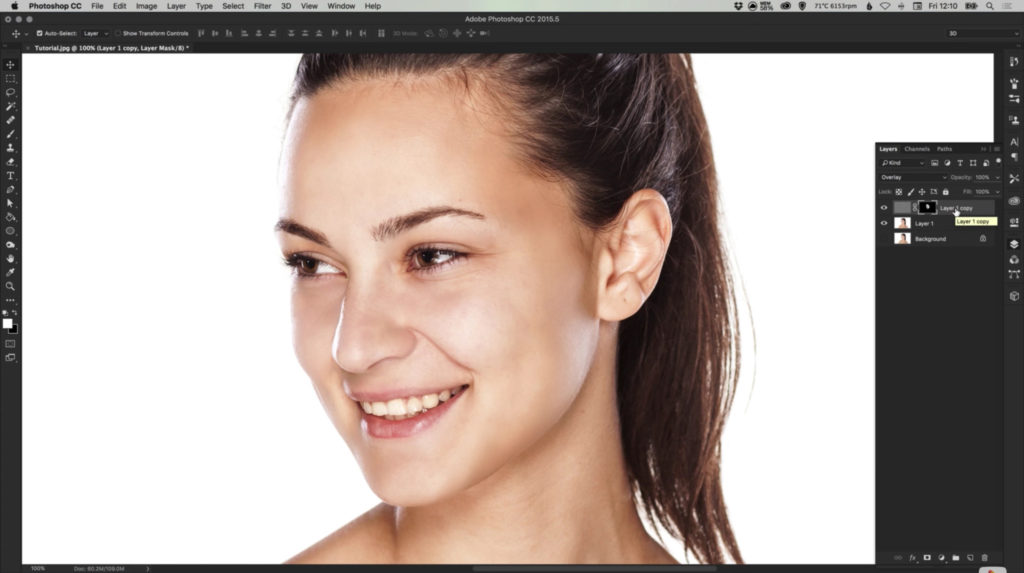
4. Again, Right-click your Background Layer and select Duplicate to create a copy and set the Blending Mode to Overlay.
5. Go to Filter > Other > High Pass, and specify a value between 10-20 approximately to add a High Pass grain-style effect to your photo. Press Cmd/Ctrl + I to invert the layer, giving your top layer a slightly blurred aesthetic.
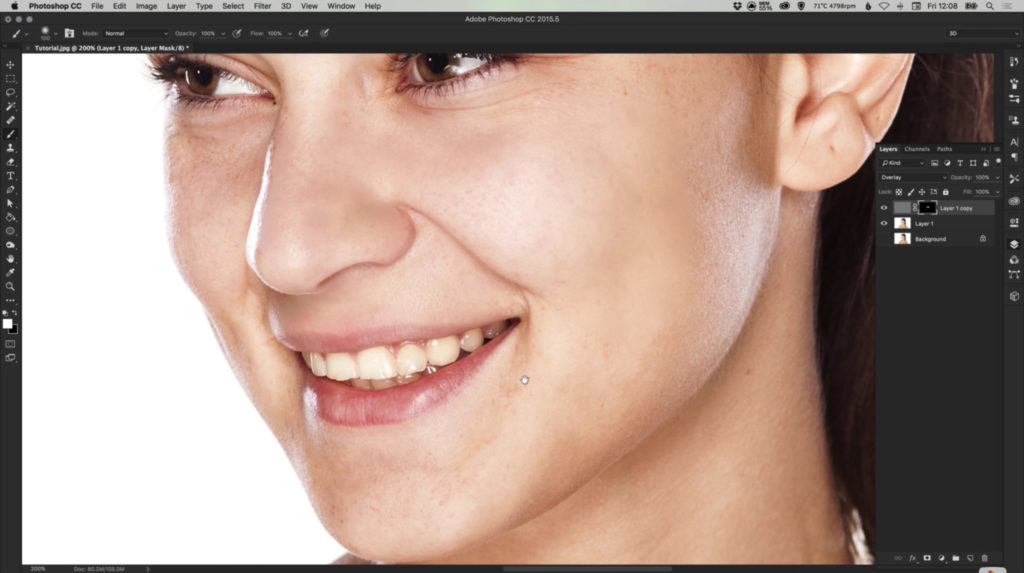
6. In the Layers Palette, hold Alt and select Add New Layer Mask. With the layer mask selected, select the Brush Tool, with a Hardness of 0%, and a Foreground Colour of White (#FFFFFF).
7. Start painting into the mask over the larger areas of skin – for example, the cheeks, forehead, chin and nose. The goal is to smooth out the larger areas of skin, without smoothing over facial features (eyes, mouth etc.)
8. The Opacity of the top layer can also be reduced to lessen the visibility of the airbrushing effect. Conversely, the layer can be duplicated again to add an even further defined airbrushing effect.
Read More at How to Airbrush Skin in Photoshop
from Web Design Ledger http://webdesignledger.com/airbrush-skin-photoshop/
No comments:
Post a Comment