Friday 30 September 2016

The Best WordPress Form Plugin on the Market – CaptainForm

The Best WordPress Form Plugin on the Market – CaptainForm

123ContactForm is a service developed by a team of dedicated professionals in Timisoara, Romania. Founded in 2008, 123ContactForm has thousands of customers from all around the world. Their mission is to provide a quality, cost-effective solution that allows users to build web, mobile forms, and surveys easily. In total, they have processed more than 53 million form submissions...

The post The Best WordPress Form Plugin on the Market – CaptainForm appeared first on Vandelay Design.


from Vandelay Design http://www.vandelaydesign.com/wordpress-plugin-captainform/

Attract the Right Audience With Seductive Typography

Ever wondered what type can best be matched to your target audience? This article will guide you through the different font styles and teach you how to pick a font that will speak to the viewers.

Serif Fonts

The Serif fonts have the ability to entangle many characteristics in one. This font type is composed of thin lines with embellished ends. The serifs are known to give content a touch of classical traditionalism and a dash of adventure.

Serif font types and audiences that match this style

  • Old Serif types are a derivative of the first Roman type. They can be distinguished with an elegant slant and bracketed letter structure. The Old Serif sometimes have a special diagonal cross stroke on lowercase that’s inspired by the old Venetian style. It’s often used in magazines and classical literature.
  • The Transitional Serif has a straight posture and a slightly increased weight contrast. This font style is created by the English typographer John Baskerville and creates a style transition between the Old type and the Neoclassical type. Just like the Old Serif, the Transitional Serif is convenient for print magazines and websites that go for an elegant and traditional look.
  • Neoclassicals have little or no bracketing and curved ends. They add a touch of playfulness to the otherwise heavily traditional look of the serif type. Can be matched perfectly with a sans serif font and be used for woman magazines and headings of everything home and lifestyle related.
  • Slab Serifs have an edgy feel that’s ideal for headings and can be easily matched with sans serif paragraph. It’s convenient for the tech-savvy audience. The geometric bracketing can easily give your heavily technical content some swag.
  • Glyphic Serifs are the best choice for web and print content that targets adventure seekers. At its core, it has a traditional feel. Yet, the elegant flaring of the character ends gives the Glyphic serif type a modern finish. This makes it one of the top preferred fonts in the gaming industry.

Sans Serif Fonts

The Sans Serif fonts have a clean and legible structure. Their contemporary style makes them ideal for tech and marketing content, sports, news, architecture magazines and more.

Sans serif fonts and what type of content it matches

  • The Grotesque Sans Serif is a modern type style that delicately combines circular and square geometric shapes. This font style family is best known for Helvetica. The Grotesque Sans Serif fonts are universal and can be flawlessly combined with almost any other font style. They are liberally used in modern print and web graphic productions and give every content a contemporary look.
  • Square Sans Serifs are similar to the Grotesque Sans Serif font with the only difference being it’s clearly squared structure. This font type is frequently used for sports news, men magazines. The square shape gives the font a stiff look while the curved ends make it more elegant and relaxed.
  • The Geometric fonts can be easily distinguished by the almost perfectly rounded “o” letter. In fact, this font type uses a combination of straight lines and circular strokes that give it a modern appearance. When bolded up, this font type works great for headings. The Geometric fonts are great for presentation headings, marketing, and tech content.
  • Humanistic Sans Serifs are based on the structure of the Roman inscriptional letters. This font style is claimed to be one of the most easy-to-read. The Humanistic Sans Serif is a combination of sans serif and serif features. It’s also often inspired by calligraphic fonts. This font style is a definite winner when it comes to ancient literature, traditional and historical writing.

Script Fonts

Script fonts are divided into five separate categories: Formal, Calligraphic, Blackletter, Casual, and Decorative. They can vary from heavily ornamented and classical to childish, playful and decorated.

Script fonts

  • Formal script fonts are mostly used in official letters or documents. They are not easy to read so they are usually used for a short snippet of text.
  • Calligraphy is well-known among designers for its beautiful and stylish appearance. This font type goes well for quotes, short headings, and accent words.
  • Blackletter fonts are heavily detailed and ornamented. They have a strong classical feel but are extremely hard. This is why they are mostly used for initials.
  • Casual script fonts are what’s also called freestyle writing. They are natural and playful and can be used for products and copy that targets kings and youngsters.
  • The Decorative script fonts have many forms and often have little or no similarities between each other. They are unique and feature detailed decoration that can represent different textures and themes. This font style can be successfully used for child animations, comics, teen magazines, gaming content and everything else that can tolerate a playful and decorated appearance.

Takeaways

Always think of your audience’s prospect response to a given font or design style before applying it in your project. Try making a target persona and match the fonts and design materials you have with the interests and views of your viewers.

The post Attract the Right Audience With Seductive Typography appeared first on SpyreStudios.


from SpyreStudios http://spyrestudios.com/attract-the-right-audience-with-seductive-typography/

Thursday 29 September 2016

How to Improve your Freelance Career in 7 Simple Steps

How to Improve your Freelance Career in 7 Simple Steps

By nature, freelancers balance various projects to make a livable income. Some freelancers may concentrate on building a large and steady client-base, while others may charge a competitive rate. Driving new business can be tough for beginners, and balancing brand goals and sales can present a huge learning curve. Luckily, there are numerous methods to improve your freelancing revenue without years of freelance experience. Below are a few helpful tips to get you on the right path...

The post How to Improve your Freelance Career in 7 Simple Steps appeared first on Vandelay Design.


from Vandelay Design http://www.vandelaydesign.com/improve-freelance-career/

7 Tools for Building Better Prototypes Quickly and Easily

7 Tools for Building Better Prototypes Quickly and Easily

Wireframes, mockups, and prototypes serve somewhat similar purposes, but they are not one and the same. The names are often used wrongly. And it can lead to selecting one type of tool when you would likely be better off with another. This can be especially true if you’re looking for a tool to test your designs. […]

The post 7 Tools for Building Better Prototypes Quickly and Easily appeared first on Vandelay Design.


from Vandelay Design http://www.vandelaydesign.com/7-tools-building-better-prototypes/

10 Best Online Resources for Web Designers Today

Let’s face it, no matter how brilliant and outside the box your designs are you can’t possibly create a stand-out web design if you don’t have the right tools and resources. You need the hardware, design software, current e-books, and a few subscriptions to top-notch educational resources in order to make a website and stay current. And let’s not forget stock images, vectors, premium fonts, icons, brushes, and so on.

That can get really expensive, right? The costs for designers to keep the lights on can be staggering and discouraging too.

Well don’t throw in the towel just yet. We’re here to share a handful of the very best free online resources that can make your life easier without breaking the bank or compromising on quality.

1. The Pixel Perfect Precision Handbook The Pixel Perfect Precision Handbook was created by ustwo, a digital design agency. The popular e-book was first published in 2010 and has been updated every year since then. It teaches you all the nitty gritty details of how to use Photoshop and Illustrator, as well as covers pixel perfect design principles, including Users, Motion, and Prototyping.

envato

2. EnvatoTuts+ Envato is a hugely popular educational website for web developers and designers. And for good reason too. You can find everything from video footage to plugins to WordPress themes. They even have a hiring platform for freelance designers. Need a design tutorial? They have more than 21,000 from which to choose!

3. InVision Need a prototyping and collaboration tool? InVision has your back with a powerful commenting system that allows team members, stakeholders, or clients to collaborate more easily using notifications and most importantly, version control.

4. Adobe Edge Web Fonts We are not going to tell you how important good typography is to web designers. That would be preaching to the choir. What we will say is Adobe Edge Web Fonts should be high up on the list of where to get free fonts on the web. With 503 pages of fonts, you are sure to find the one that has just the right mix of personality, alignment, kerning, tracking, size, and more.

pexels

5. Pexels In a perfect world every designer would use unique, custom-made images on all their projects. Imagery so stunning that visitors wouldn’t be able to look away. Sadly, we live in the real world where there simply is not always time (or money) to create those images. Enter Pexels, a free stock image site which offers high-quality images with different attribution categories.

6. Unsplash This Montreal-based company started off as a side project that was put together using a cheap Tumblr theme and some extra shots from a photoshoot. However, it quickly grew to becoming one of the most popular sources for high quality, open source photographs available on the web.

dryicons

7. DryIcons Need to add a unique touch to your call to action or list? You’re going to want to bookmark DryIcons for use on your next project. You will find that it is very easy to use.

8. Brusheezy Before you leave that bookmark menu, don’t forget to add Brusheezy to your list for free Photoshop brushes and PSDs!

9. Awwwards Every designer feels a little creatively tapped out now and again. The best cure for that is to have a place to go for inspiration. You know, to get those creative juices flowing again before your deadline approaches. Awwards regularly showcase some of the most unique and interesting design work you will ever see. They also score highly for creativity, usability, and overall content.

10. Behance No list would be complete without Behance. They have been showcasing creative designers of all fields since 2006. Just like Awwwards, you can share your work with other awesome creative folks, as well as get yourself hired by any number of companies that come there looking for the very best in design. If you want to stand out in the crowd of designers fighting for jobs,

Behance is the place to go to find inspiration.

Not enough for you?

The fine folks at Elegant Themes has compiled a list of the 55 Web Design Blogs to Follow in 2016, which you should totally bookmark if you are looking for a giant list of exquisite design sources to follow. We highly recommend keeping the resource pinned in your bookmarks for easy referencing.

Conclusion

After you have invested in the very best software and hardware, you need to work your creative magic (like Photoshop). There’s no need to spend your hard earned cash on expensive design resources when there are so many free places to choose from.Not all free online resources for designers are worth your time, but these 10 should be an excellent start as you’re building a list of places to mine for good design elements.

The post 10 Best Online Resources for Web Designers Today appeared first on SpyreStudios.


from SpyreStudios http://spyrestudios.com/10-best-online-resources-web-designers-today/

Wednesday 28 September 2016

Great Tools for Getting the Most From Your Prototyping

1invision

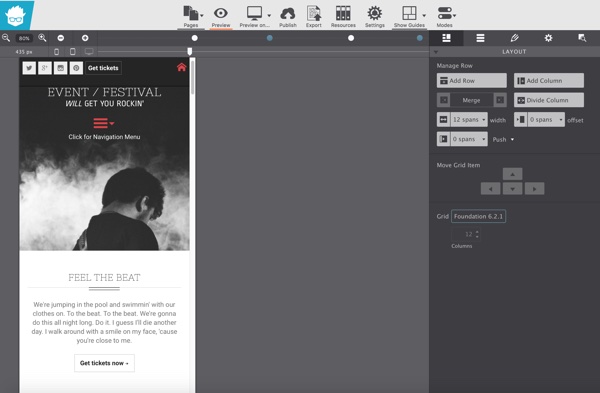
Designers often rely on wireframes, mockups, and prototypes. They use them to show how they see the final product unfolding at various stages in the design process. These presentations can vary from rough sketches to a model that emulates the look and feel of the final product nearly to perfection.

Thus, these three design aids serve somewhat similar purposes, and their often confused. They are not one and the same. It’s important to know the difference.
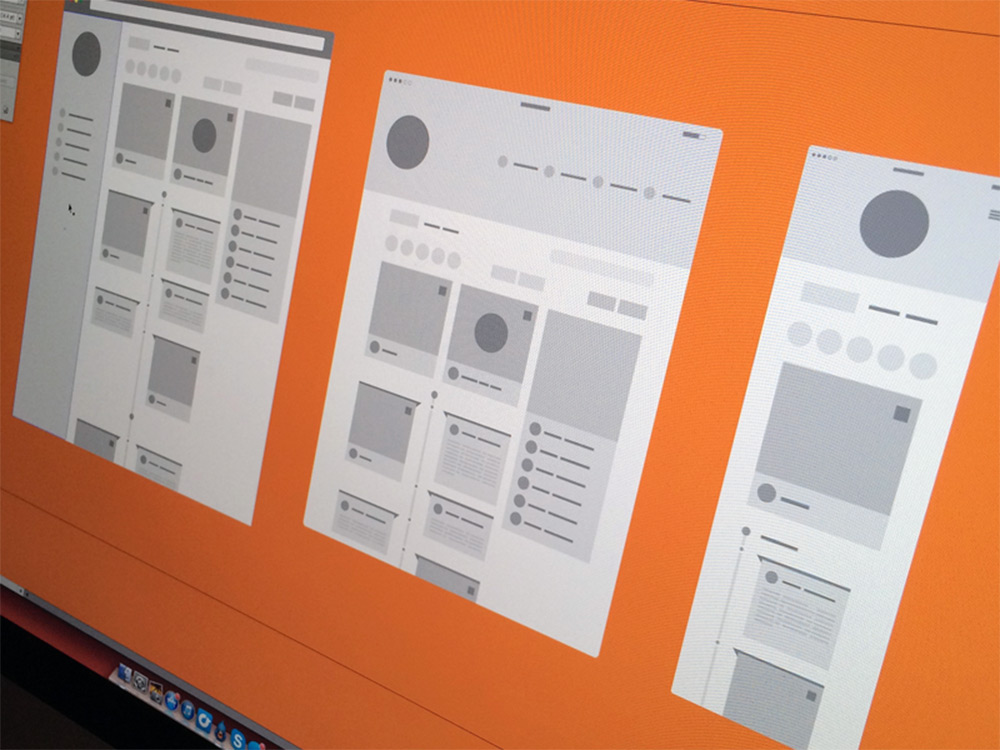
  • wireframe is a low-fidelity model of a proposed design. A wireframe, as the name implies, offers only an outline of what the final product might look like. It is a static representation, with little internal substance (functionality).
  • A mockup is a step up. A mid-to high-fidelity mockup can in fact provide a visual demonstration of the proposed design in great detail. But it is also a static model.
  • A prototype provides a dynamic representation. A high-fidelity prototype can simulate the look and feel of the end product to the point where you can hardly tell the difference.

All three model types are vehicles for obtaining comment and feedback. Prototypes can vary from simple to exceedingly complex, and are by far the best usability testing aids. Prototypes can range from data and user-flow sketches, to low-fidelity models. And to high-fidelity models that can prove and verify a product’s UX.

InVision

1invision

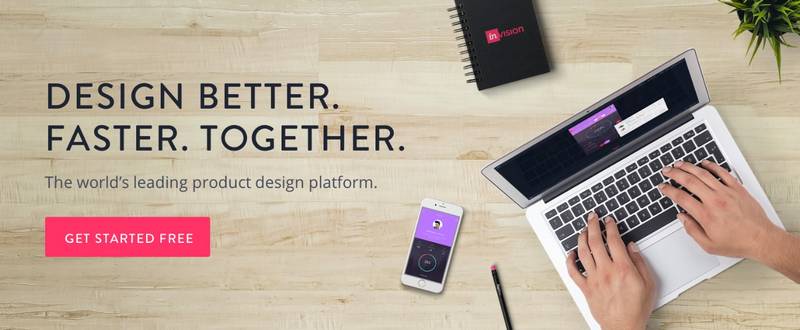
With InVision, designers and their teams have few problems, if any, prototyping, reviewing, refining, and testing their web and mobile product designs. Best of all, they can accomplish these things without writing a single line of code, and it takes just minutes to build a working, high-fidelity prototype.

In InVision, users enjoy a premier product designed and developed by a world-class company. InVision is recommended by Forbes, and Forbes also lists InVision as one of the top cloud companies in the world, ranked up there with the likes of Slack, MailChimp, and Dropbox.

InVision’s always-on prototyping, collaboration, and workflow platform can play a decisive role in speeding up your team’s entire product creation process. View feedback in one central location for every project, and drill down to a specific project, task, or team member. Version controls are present too, so there’s no need to worry about losing your place during a flurry of feedback, suggestions, changes, and fixes.

Sign up for a free 15-day trial today. You’ll be glad you did.

Pidoco

2pidoco

If you’ve been dreading looking for a new prototyping tool because you don’t want to have to deal with a steep learning curve – again, you’ll love getting acquainted with Pidoco. Prototyping made easy is the watchword, and this product lives up to the slogan.

Since you can start being productive from the get-go, Pidoco makes a great choice for teams that need a smart web and/or mobile prototyping tool, but have been reluctant to the take extra time to become familiar with something new.

Pidoco is well-known for its ability to turn out high-fidelity, fully-interactive UX prototypes, but you can use if for wireframing and low-fidelity applications as well. Small and large companies in more than 50 countries have put their trust in Pidoco. You can sign up for free, and several pricing plans are available.

Proto.io

3proto

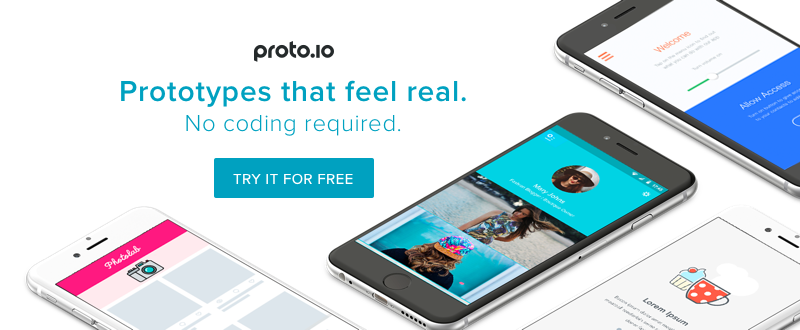
One user calls Proto.io the best in-browser prototyping platform around. Another claims to have built their startup around it. Yet another appreciates the fact that having this prototyping platform in hand mitigates the problem of moving from design to development prematurely.

These are just a few of the many reasons for trying out this prototyping platform, taking advantage of the free 15-day full feature trial.

Proto.io is very easy to use, and no coding is necessary to turn out pixel-perfect, interactive prototypes of your mobile app designs. Actually, you can prototype for any device and screen size. The latest version contains a number of exciting new features that make prototyping faster and easier than ever.

The Proto.io Dashboard helps you with your version control and collaboration tasks, the Editor does the heavy lifting when building your prototype, and the Player lets you view the results on your browser, share it with others, and conduct testing.

Last but not least, the Proto.io app lets you experience how your prototype looks, feels and works on a mobile device.

Webflow

4webflow

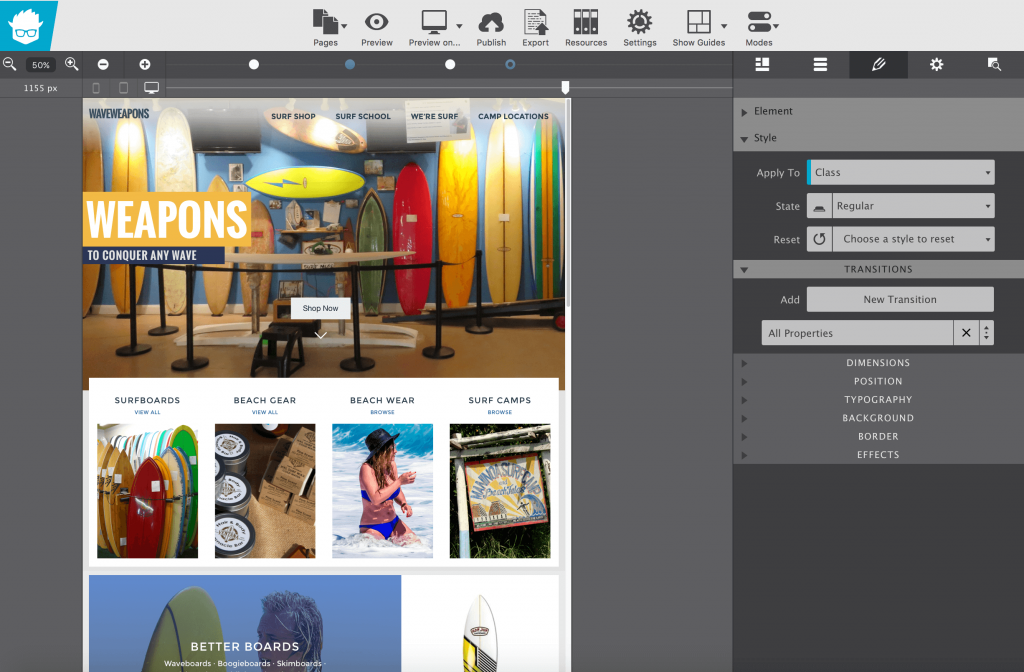
With Webflow, nothing you create is wasted. Everything you build, including your high-fidelity, interactive prototypes, is powered by production-ready HTML, CSS, and JavaScript. This means you can make the transition from prototype to production rather seamlessly. At a minimum, you can give your developers responsive code to work with, and not just static mockups.

However you choose to use Webflow, you’ll soon discover how easily it can speed up the design process. You can design with real content, and collaborating with fellow designers and other team members is also easy. Sign up, and try out this powerful tool today. It may change your approach to a lot of things.

PowerMockup

5powermockup

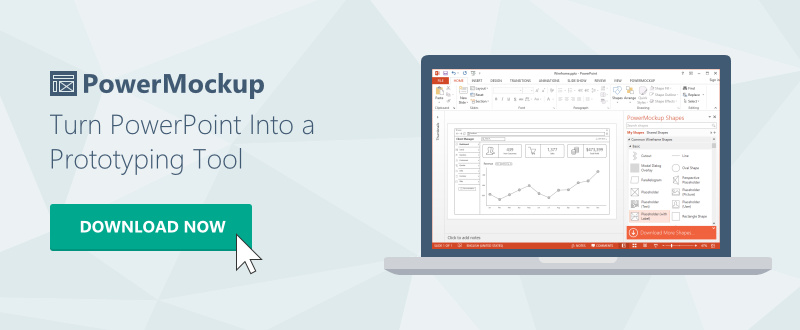
Until recently, PowerPoint users had to be content with static slide representation in place of mockups and interactive prototypes. While using PowerPoint is an effective way to present almost anything, including web and app design information, PowerMockup has changed things for the better, and dramatically so.

PowerMockup is a PowerPoint add-on consisting of a large library of design elements and shapes. No coding is necessary to present a slideshow of animated, interactive screens that give team members and project stakeholders a storyboard-type of prototype to work with or respond to.

Lucidchart

6lucidchart

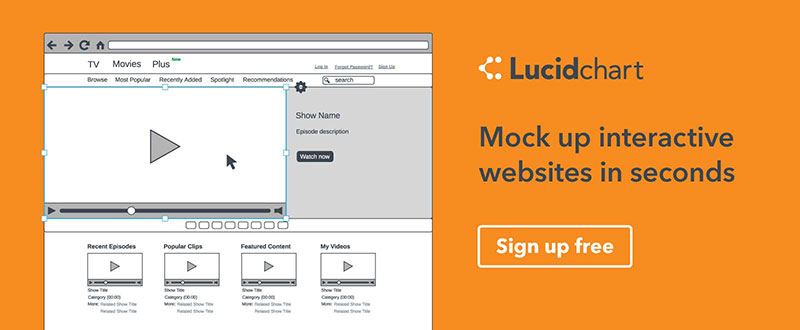
Even if you have a prototyping tool you’re happy with, adding Lucidchart to your design toolbox will still make sense. Its extensive library of design elements allows you to create high-quality wireframes and mockups; or you can simply use this tool for your chart making and flow diagramming tasks.

While rough sketches have their place, a professional design shop should never be without a tool that produces professional-grade dataflow or workflow diagrams, or charts. Lucidchart makes flowcharts quickly, and it makes them right.

HotGloo

7hotgloo

HotGloo is easy to learn, runs in your browser and provides you with the right amount of features needed to create your wireframes and prototypes for web, mobile and wearables.

You’ll have access to a 2000+ user interface element library, a multiple-licensed account, so you can easily and quickly collaborate with team members, and you can test your work and add comments or make changes on the fly.

HotGloo is supported with a full documentation, video tutorials and webinars to get you going in almost no time. Try it for free today!

Conclusion

These 7 prototyping tools are not one and the same, and differ only in their packaging and branding.  You should not have a problem finding one or two that will work for you better than the others. Most have the features you need to build pixel-perfect, interactive prototypes, although several are better suited for wireframing, or assisting your design efforts in other areas.

One is dedicated to PowerPoint users, one allows you to hand off your design to developers in coded form, and one is a great tool to have if your flowcharting and diagramming efforts aren’t quite at a level of quality you’d like them to be. Whichever you choose, you’ll have made a smart decision, since all seven of these tools are great at what they do.

Read More at Great Tools for Getting the Most From Your Prototyping


from Web Design Ledger https://webdesignledger.com/great-tools-for-getting-the-most-from-your-prototyping/

Tuesday 27 September 2016

Why Do Designers Make Awesome Entrepreneurs?

Why Do Designers Make Awesome Entrepreneurs?

If you’re a designer, chances are you have a full-time job (and maybe even a freelance position on the side.) For many designers, this is an enjoyable option, complete with benefits and flexibility. For some, however, this situation doesn’t quite gel--maybe due to an employer or the industry itself. For some, a “regular” job doesn’t seem quite fulfilling enough.

If these feelings sound familiar, this might be the right time for you to create a business online..

The post Why Do Designers Make Awesome Entrepreneurs? appeared first on Vandelay Design.


from Vandelay Design http://www.vandelaydesign.com/business-online-for-designers/

Advanced: Bootstrap to Adobe Muse

Muse For You - Advanced - Bootstrap to Adobe Muse - Adobe Muse CC

Complete Tutorial on How to Build a Bootstrap Template in Adobe Muse. No Coding Skills Required.

Muse For You - Adobe Muse CC Adobe Muse CC Logo

Bootstrap is one of the more popular methods of creating a website with code. In the above video tutorial I go over how to create a Bootstrap template in Adobe Muse. No coding skills required. The steps are as follows:

1. Find a Bootstrap template to re-create.

2. Take a picture of the website across different breakpoints with the Fireshot Webpage Screenshot Chrome extension.

3. Create breakpoints in Adobe Muse.

4. Decide if website is going to be fixed width, fluid-width, or adaptive.

5. Create guides in Adobe Muse.

6. Add elements and assets. Sample fonts with the WhatFont Chrome extension.

Muse For You - Advanced - Bootstrap to Adobe Muse - Adobe Muse CC

7. Add animations and effects.

8. Repeat process for other breakpoints.

For more video tutorials and widgets for Adobe Muse visit http://museforyoushop.com.

Happy Musing :).

Read More at Advanced: Bootstrap to Adobe Muse


from Web Design Ledger https://webdesignledger.com/advanced-bootstrap-adobe-muse/

Monday 26 September 2016

These 10 CreativeMornings Talks Will Be Your New Obsession

These 10 CreativeMornings Talks Will Be Your New Obsession

Any field (even artistic ones) can occasionally lack creative drive. Everyday routines can lack the inspiration spontaneity often provides. The “talks” offered by CreativeMornings fight everyday monotony and instead provide encouragement and ideas for new projects.

CreativeMornings began in 2008 as the brainchild of Tina Roth Eisenberg. The mission: to stimulate the community with breakfast and a brief lecture, for free. In less than a decade, CreativeMornings has grown into an international opportunity to meet and network with like-minded people. The lectures are recorded and available for view, any time and anywhere.

Here are ten eye-opening talks from CreativeMornings on creativity, design, inspiration, and free thinking...

The post These 10 CreativeMornings Talks Will Be Your New Obsession appeared first on Vandelay Design.


from Vandelay Design http://www.vandelaydesign.com/creative-mornings/

Workflow Tips For Web Designers & Frontend Developers

dev workflows

There is no single right workflow to build a website. But there are ways to improve your workflow and make your job a little easier.

Whether you design or write code there’s usually some part to the process that can be streamlined. This can change depending whether you work solo or in a team environment. But if you know how to tweak your process you can get projects done faster with fewer manual tasks.

In the past we’ve covered responsive workflows and in this post I want to share common design & dev workflow optimization strategies. I’ll offer tips and resources for the creative process and help web designers & developers build their projects with more accuracy and precision.

Starting with a Wireframe

It’s a good idea to start with a wireframe on every single web project. This helps you flesh out ideas for the content, the layout style, and the organization of page elements like the logo, nav bar, and CTA buttons.

Your initial goal should be to construct a rough layout using lo-fi wireframes. Keep them quick and loose. You’ll save time on bad ideas and laser in on the good ones.

If you need some wireframe templates to get started I recommend Noupe’s gallery full of digital wireframes.

But I personally prefer working on paper with pencil for quick sketching. It’s my top recommendation for anyone who wants to rapidly prototype wireframes from scratch to get ideas down quickly. Erasing is much easier on paper and you have much more control over the whole sketching process.

designing website sketches

Don’t be afraid to put down 10 or more different wireframe ideas. I never get it right the first time and I don’t think any other designers do either.

If possible try to get your final wireframe precise before moving onto a mockup.

This way you have less guesswork down the pipeline and each stage of development just further clarifies your original concepts.

Planning Copy & Behaviors

Once you roughly know how the site should look you can start getting into the details. This can start with a mockup but I prefer building a higher fidelity wireframe first.

This involves placing sample widgets and web copy into the wireframe that looks good and guides users down the page.

This is a difficult task and it’ll be slightly different for every project. But you should think about what your users want to do and keep this in mind the entire time.

Also consider usability and how your written copy can affect the user experience.

There is no single correct way to write content. But the writing should be compelling and guide users further into the site.

digital wireframes design

While planning high-fidelity wireframes it helps to add image placeholders along with written copy. This way you can see how the layout could eventually look without using filler content.

But also consider the value of large headings and custom styled page copy like bulleted lists. Your title text draws users into each section and you often have just a few seconds to capture their attention.

Always work around two concepts when designing page text: clear contrast and plenty of whitespace.

You don’t need to choose a font face or text color during this step. If your wireframe is easy to skim it should be obvious at a glance.

Understanding user behavior makes it easier to build copy that helps users get around the site. This high-fidelity/light mockup is probably the most important stage because once you get into the full mockup design you’ll already know the layout is readable and easy to use.

Trust Frontend Frameworks

There’s a lot of buzz surrounding frontend development frameworks. These mostly include libraries like React, Angular, and Ember.

All of these can save time when building a new site, assuming you know how to use your framework of choice. The goal isn’t just to streamline frontend development but to also architect your whole website. Check out this thread to learn a bit more.

The primary goal of any framework is to separate complex functions and help you build more with less code. Modern JS frameworks handle user input and control how data gets transferred from the backend to the frontend.

The new Angular 2 release does this well and has garnered a lot of attention.

But I’ve really grown to appreciate the detail in Ember.js which comes out of the box with features for routing and asynchronous behavior. The Ember learning curve is steep but with the right learning resources you can move quickly and might even enjoy the learning process.

The biggest upside of a framework is modularity when it comes to building a new project.

You’ll know exactly where to start, how to scale, and how to organize new files with the same structure. Architecture is just as important as how you write your code.

If you’re curious to learn more check out this guide to see how other devs implement frontend frameworks into modern web projects.

Testing & Debugging

I first started writing code when IE6 was still popular. If you don’t already know, web developers have some discontent for Internet Explorer.

Browser quirks are far less common these days but they do still exist. For this reason testing should still be a big part of your dev workflow.

Beyond major browser bugs you’ll often have minor differences between how certain browsers render margins, patterns, box sizing, and similar properties in browser engines like Gecko vs WebKit.

One way to test is to have all these browsers on your development computer. After you make big changes to your code just check your work in all browsers. However this can get annoying quickly.

Instead try using browser testing tools that’ll save time and frustration. Here are some of the most popular choices:

I’d also recommend that developers add responsive testing tools into their workflow.

This helps you test each major breakpoint in a responsive layout without needing to constantly resize and switch the browser.

My two favorite extensions are Responsive Web Design Tester and the Viewport Resizer. Both are completely free and work great for live testing.

Another tool I highly recommend is the in-browser debugging console. This is great for testing JavaScript code and looking for potential errors in your HTML/CSS code validation.

chrome console logging in browser

Google has an entire guide to the console window teaching how to get started and what each of the panels does.

All of these tools are incredibly valuable to the debugging process. But each developer will fall into their own workflow so it’s up to you to decide which tools offer the most value.

Wrapping Up

There is no single proper way to build a workflow on the web. But there are best practices and techniques that you can adopt to make the process smoother and easier to manage.

I hope these tips can help shape your workflow both on the design and development side. It’s now much easier to build and launch a new website, so if you’re constantly launching new projects these little tips can make a world of difference in the long run.

Read More at Workflow Tips For Web Designers & Frontend Developers


from Web Design Ledger https://webdesignledger.com/workflow-tips-for-designers-developers/

Responsive Foundation Framer: Responsive Design Made Easy

Festival Theme

There are a good number of front-end editors out there when it comes to responsive design. Some are based on Bootstrap, others on different frameworks, and so on. However, most of them suffer from the same problem — they lack absolute control and originality. As such, most responsive design webpages tend to look similar in nature.

If you have ever experienced the same problem, consider it solved. Meet Responsive Foundation Framer, a unique solution by CoffeeCup that gives you absolute control over your design and at the same time, helps you create intuitive and responsive design without coding.

Responsive Foundation Framer: Responsive Design Made Easy

What is Responsive Foundation Framer?

Responsive Foundation Framer is a visual front-end editor with a solid grid system and custom predefined styles. It is based on the Foundation 6 framework., therefore, Responsive Foundation Framer is minimal, modular and lets you combine elements and styles with ease.

Responsive Design

To begin with, Responsive Foundation Framer lets you harness the full power of CSS without having to deal with even a single line of code! You can specify the dimensions and run through the customization options and it will generate the required CSS code all by itself. Similarly, you can use the color picker to manage the color palette and the inline editor as well as the clickable controls to handle typography. Responsive Foundation Framer plays well with Google Fonts.

But what about content? Well, you can place your content wherever you want it, be it absolute positioning, float or using the Flexbox controls. You can layer multiple backgrounds and structure different layouts all in the matter of a few clicks! Plus, you can use the Picture element to serve different image sizes to your users on the basis of the device that they are using.

Considering the fact that Responsive Foundation Framer is based on Foundation 6 framework, it comes with the advantages of the Motion UI. You can, therefore, easily create animations and transitions with the help of data attributes.

That’s a rather strong list of features, isn’t it? But how does it fare on practice? Let’s put Responsive Foundation Framer to test and see what it can boast of.

Responsive Design: Responsive Foundation Framer Sneak Peak

Most of the action in Responsive Foundation Framer happens by means of components. It comes with its own set of prebuilt and readymade components that you can make use of. Accordions, navigation menus, tab panels, modals, etc. are all there and you just need to click to insert. More importantly, you can create your own interactive components with the help of HTML elements and CSS mixins.

Also, Responsive Foundation Framer includes symbols for global content updates. What does that mean? It means you can save elements (say, a header or a footer) and then update them all from one spot.
componets

The interface is fairly straightforward.  You can edit the rows and layouts as well as different elements on the basis of the right panel.

responsive design

Bear in mind that we are talking about responsive design here. Now since Responsive Foundation Framer is a visual tool, it allows you to click and drag to change, edit, add or delete breakpoints. We know that Foundation framework comes with two breakpoints, but you can add or delete breakpoints by dragging the slider in the tool.

responsive foundation framer

For instance, when the breakpoint value is reduced, Responsive Foundation Framer reacts accordingly:

when-breakpoint-is-reduced

Since my screen was smaller, it allowed me to zoom in and out while fixing breakpoints, so that I can create designs that play well on larger screens too. This design and device agnostic approach is the back-bone of responsive design. It is refreshing to note that Responsive Foundation Framer is aware of this fact.

Once done, you can preview your work on the web browsers installed on your device.

Browsers

You can sync (“Publish”) to the cloud if you have a paid subscription, or you can “Export” and deploy to your website or server elsewhere.

Responsive Foundation Framer comes with various customizable themes.

Festival Theme

You can, of course, tweak every theme to suit your needs and requirements.

Wave Theme

Unit Switcher: Control Unit Measurements on the Fly!

Responsive Foundation Framer lets you control unit measurements on the fly. We know that not all units are created alike. For example, layout elements work great with percentages as they can adapt based on the available width. While working with margins and padding you may want to use EM so you can space out your elements relative to the size of your text. However, what if you wish to use fixed dimensions for the purpose?

Unit Switcher

This is where the Unit Switcher proves useful. Visual designers will totally dig the VW option for fluid typography that resizes smoothly based on the device width and not just at a breakpoint. What to use when? It really depends on the design problem you’re addressing!

Pricing

Responsive Foundation Framer costs $79 for one license. It includes all of the features as well as premium quality support and access to documentation and tutorials.

There is a free trial option available as well. Responsive Foundation Framer runs on OSX and Windows devices.

Verdict

Responsive design is no longer a luxury. Everyone accesses the web via mobile devices at some point or the other during the day. Similarly, many people do use gigantic screens on their computers. All said and done, if your website is not responsive, it is of very little use.

As such, as a web designer, your designs should adhere to the principles of responsive design. Now, for the most part, most “responsive design” tools tend to repeat the same process over and over again. Either you are expected to code everything from the start, or you are given a severely crippled frontend editing functionality that offers a limited number of breakpoints and options for you to work with. In either case, your responsive design project does turn out responsive enough — but it lacks uniqueness and innovation that is expected from a web design concept.

Responsive Foundation Framer is an ideal tool for the job. By offering you granular control over each and every aspect related to your design, Responsive Foundation Framer makes it easy to create truly responsive design concepts. Similarly, several frontend visual editors tend to overlook the importance of web fonts; this one does not! Responsive Foundation Framer supports Google Fonts.

You also have the option to work with the back-end and export your stylesheets to the code editor of your choice. This makes it useful for folks who like to work with code rather than point and click all the time.

All said and done, Responsive Foundation Framer is a very useful solution when it comes to visual front-end editors for responsive design. By all means, you should consider giving it a spin right away!

Visit Responsive Foundation Framer

Read More at Responsive Foundation Framer: Responsive Design Made Easy


from Web Design Ledger https://webdesignledger.com/responsive-design-foundation-framer/