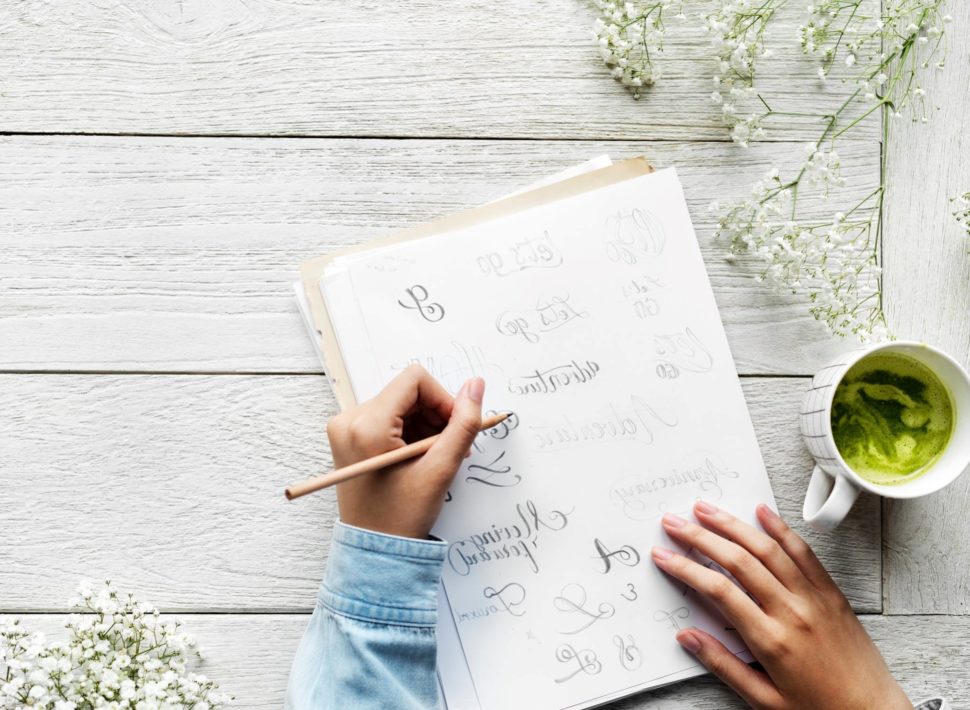
Just as technology evolves, we, as designers need to improve ourselves by adding skills to our toolkit. If I had to answer the question “What makes a good designer?”, the list wouldn’t be too short. In fact, agencies look for multi-skilled designers that can cover more areas than just graphic and web design. Knowledge in typography, lettering, calligraphy, are some of the fields that would ensure a better chance of being hired at big design agencies. For right-handed designers, any of these can be acquired skills with practice and determination. We don’t hear so often about left-handed designers who are good with the pen because it’s much harder for them. But we know that everything is possible, that’s why we decided to share with you 10 amazing tips on left-handed lettering.
There’s no such a thing as an easy way to success. We all need to work hard for what we want to achieve. Some harder than others. But who said that shortcuts are always bad? When there are ways of getting what we want faster, as long as it doesn’t become an ethics problem, why wouldn’t we ease our work? We know for sure that left-handed lettering can be more than a painful journey to achieve. You can have fun learning and finding enjoyment in tedious work, and we are here to show you how you do it. Dear left-handed designers, this blog post is dedicated to you.
Position your arm in a comfortable way
A good positioning of your arm makes the difference between a paper full of smears and a clean one. The way you position your hand should come naturally. There are two types of hand-writings left-handed people use:
- they mimic right-handed writers and curl their hand in an angle that puts the pen at such an angle that it’s almost as if they’re writing from the right side
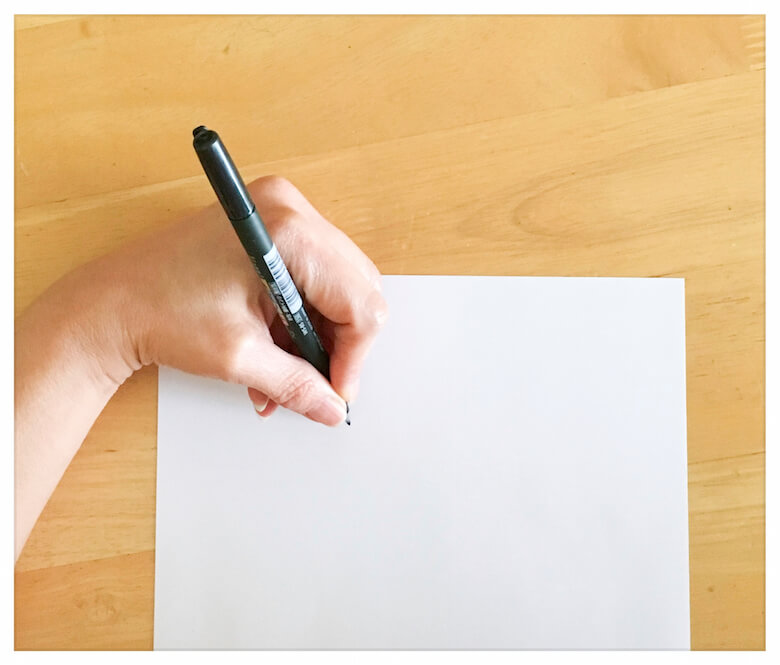
- or keep their arms on the left side of the page, without curling their hand.
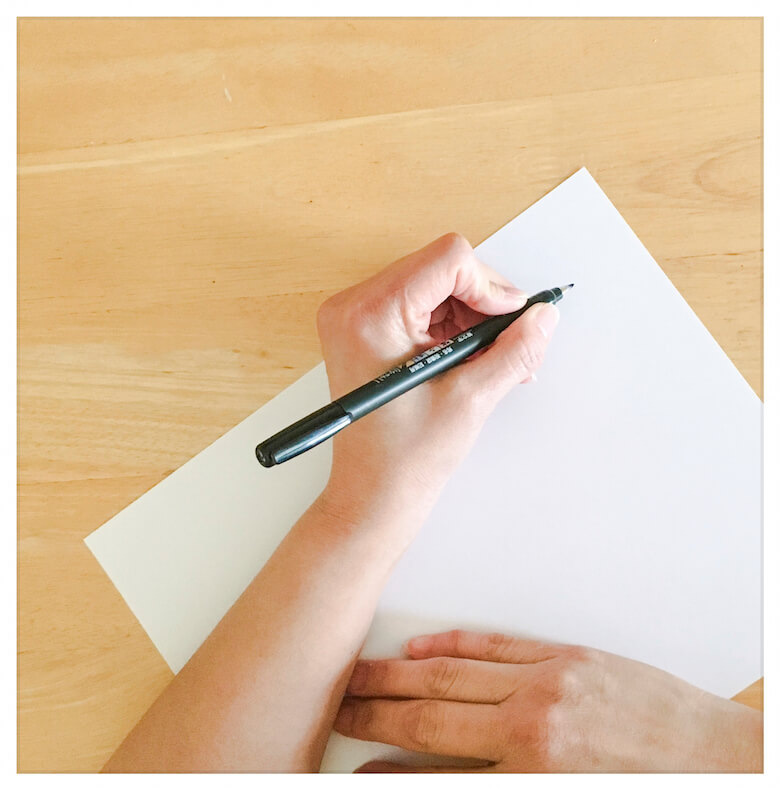
Jodi Christiansen, calligrapher and member of the International Association of Master Penmen, Engrossers, and Teachers of Handwriting says in her article titled “Calligraphy and The Left-Handed Scribe”:
Curlers and non-curlers approach calligraphic strokes in very different ways. What works for a curler is almost never useful for a non-curler and vice versa. Often times, things that are obvious to right-handed calligraphers elude us lefties. It can be extremely frustrating to watch a righty easily manipulate the pen when all we can do is smudge, smear and make wobbly marks on the practice sheet!
So don’t be afraid to adopt any arm positioning you want in order to get that lettering done.
Adopt a new method for writing
It’s not wrong to learn strategies from the right-handed that would simplify our work. Right-handed people tend to pull with each movement. Curlers attempting the same movement must push. It’s like a fight with the nib of your pen if it’s sharp. In case the nib digs into your paper, we have an alternative. Try drawing the letters from bottom up. This will make your pen more cooperative and your lettering more natural looking.
Use a ruler
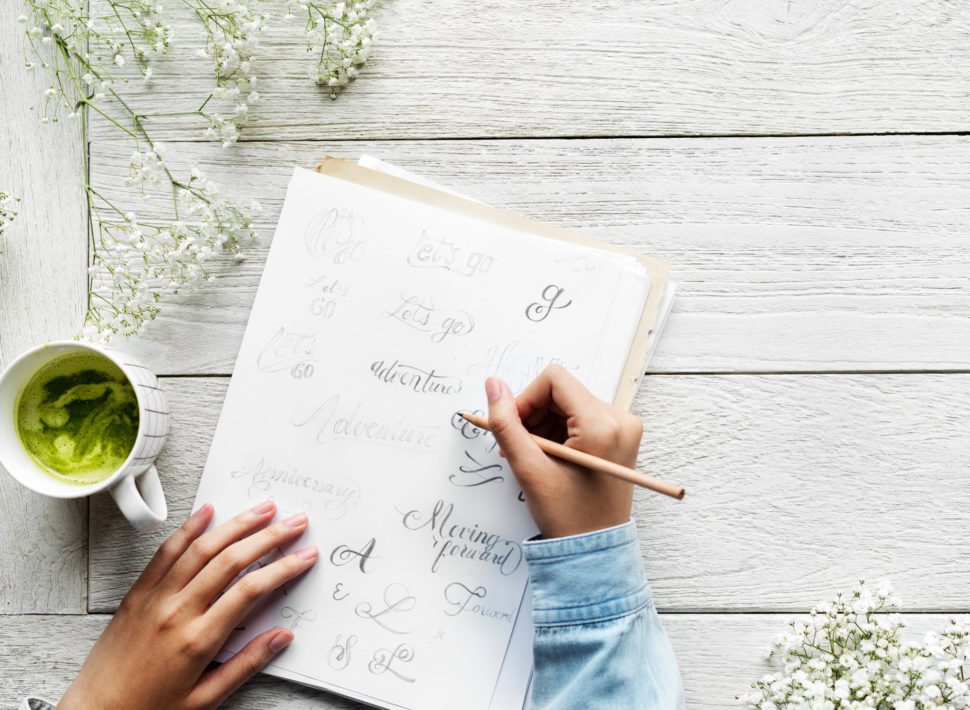
It’s quite difficult for us to aproximate the needed spacing between letters. As your hand slides across your paper, it blocks what you’ve previously written. If this is a problem for you, then you’ve probably noticed some unequal gaps between words and letters. While this isn’t a massive issue, it can greatly affect your work if you are going for perfect. In order to counteract this, all it takes is a few extra minutes and a ruler. Go along your paper and make a slight mark wherever you would want a letter to be.
Here’s an extra tip: use the ruler to rest your hand on as it slides across the paper. Depending on the material of the ruler and the texture of the paper, this can prevent smearing completely. It’s not the most convenient method, but it certainly is one that works.
Purchase a circular nib holder
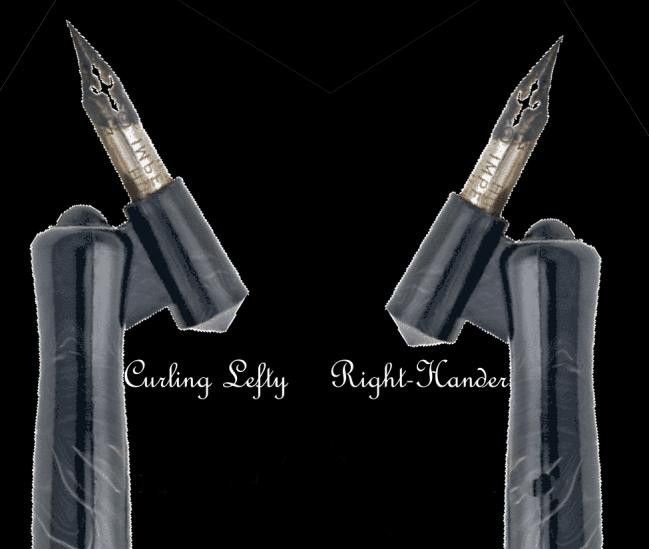
If you don’t already have one, investing in a nib holder is a game changer. There are many out there to choose from, but the Speedball holder differs from the crowd because it’s circular. This means that you can insert the nib anywhere within its circle. Jodi Christiansen affirms:
Curlers flip the holder such that the oblique piece is to their right (for right-handers, it’s to the left).This arrangement allows curlers to use the same ductus as right-handers. However, because of the curled position of the hand, it’s very difficult to position the nib on the paper so both tines get equal pressure. I’ve resigned myself to wearing out nibs unevenly and just doing the best I can!
Use a tablet
Nothing beats a handwritten letter, but if you are smudging words across your paper, then it doesn’t quite have the same effect. Luckily, we live in the digital age. There’s quite literally an app for everything. In fact, there are tablets out there dedicated to artists who use custom calligraphy. If you are one of those people who smudges words, then operating on a tablet might be the answer you’re looking for. Granted, a tablet is a bit more expensive than a nib holder or a ruler, but it’s an investment, right?
Have fun lettering
Ultimately, drawing letters should be a fun activity, even if it’s part of your job. Find ways that work best for you through time and practice. Don’t give up hope just because you are left-handed. You have a unique trait that makes you, you.
We post articles for your inspiration and motivation daily, so don’t forget to come back for more tomorrow. Also, we are super curious to find out what are your techiques for lettering as a left-handed or a right-handed.

Read More at Amazing Tips on Left Handed Lettering
from Web Design Ledger https://webdesignledger.com/10-amazing-tips-left-handed-brush-lettering/
No comments:
Post a Comment