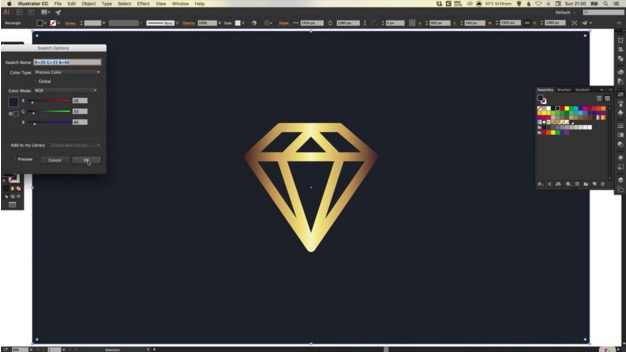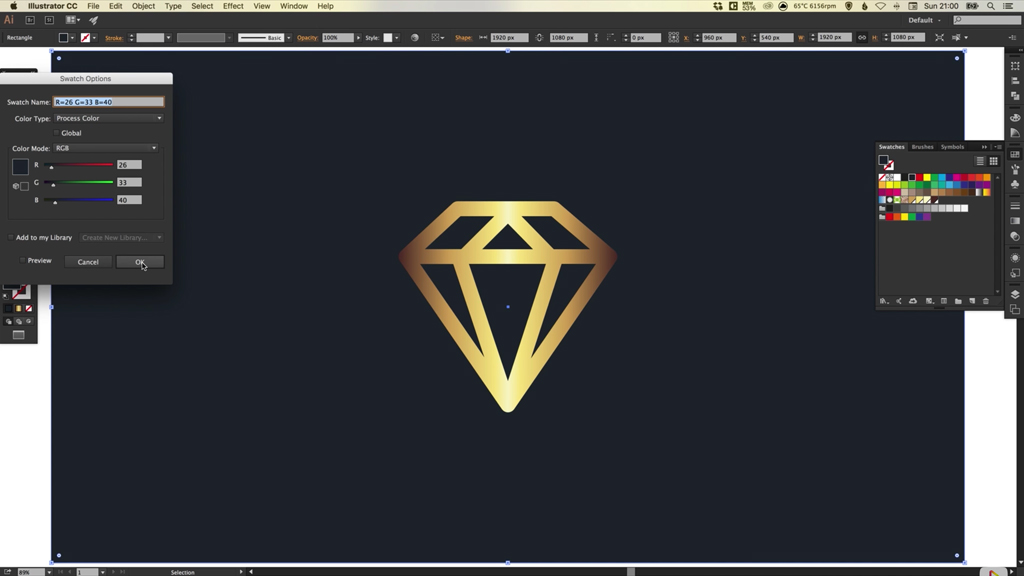
In this tutorial, we’re going to learn how to create a gold effect in Adobe Illustrator.
The Steps (1-10)
1. Create a New Document.
2. Either Paste or Place an existing vector shape into Illustrator, or create a new shape using the shape tools.
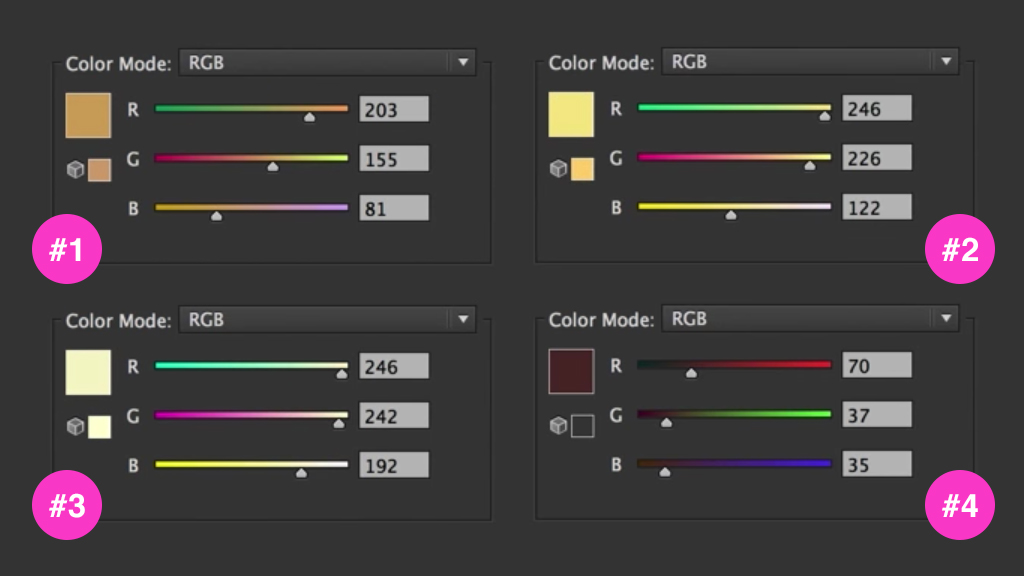
3. Create four colour swatches using the RGB values in the image below.
4. Select your shape, and in the Gradient Palette on the right-hand side, Left-click anywhere on the Gradient Slider to create the default gradient – black to white.
5. Left-click and drag swatch #4 on to the far left side of the Gradient Slider, and then repeat this step, also dragging the swatch to the far right side.
6. Drag swatch #3 into the middle of the Gradient Slider and release the Left Mouse Button. This will create a highlight on the shape.
7. To remove a colour from the Gradient Slider, Left-click on the swatch and drag downwards until it disappears.
8. Select swatch #2 and drag this on to the Gradient Slider, and position slightly to the left of swatch #3. Repeat this step, dragging the same swatch slightly to the right of swatch #3.
9. Next, drag swatch #1 in between swatch #4 and swatch #2 on the left side of the Gradient Slider. Repeat this step on the right side too.
10. The Angle of the gradient can then also be adjusted in the Gradient Palette.
Download Adobe Illustrator.
Read More at Create a Gold Effect in Adobe Illustrator
from Web Design Ledger http://webdesignledger.com/create-gold-effect-adobe-illustrator/


No comments:
Post a Comment