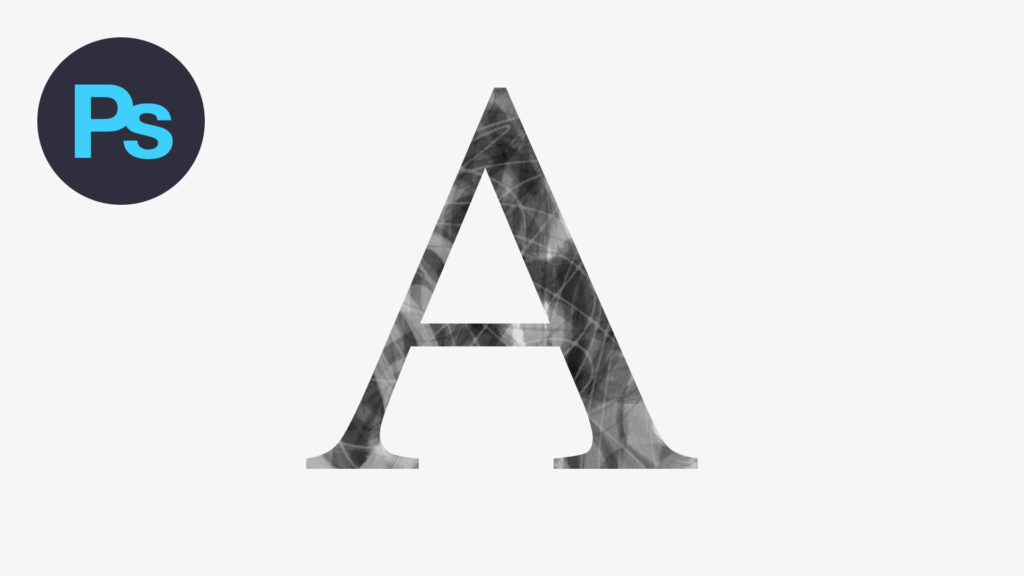
In this tutorial, we’re going to learn how to create a brush textured lettering effect in Adobe Photoshop.
The Steps (1-9)
1. Create a new document.
2. Select the Type Tool, and type a letter or word of your choice. Make this letter or word black in colour.
3. In the Layers Palette, Right-click the text layer, and select Blending Options.
4. On the Blending Options screen, adjust the Fill Opacity from 100% down to 0%.
5. Tick the box next to Stroke in the list of options on the left, and adjust your stroke width as desired.
6. At the bottom of the Layers Palette, select the Add a Mask option.
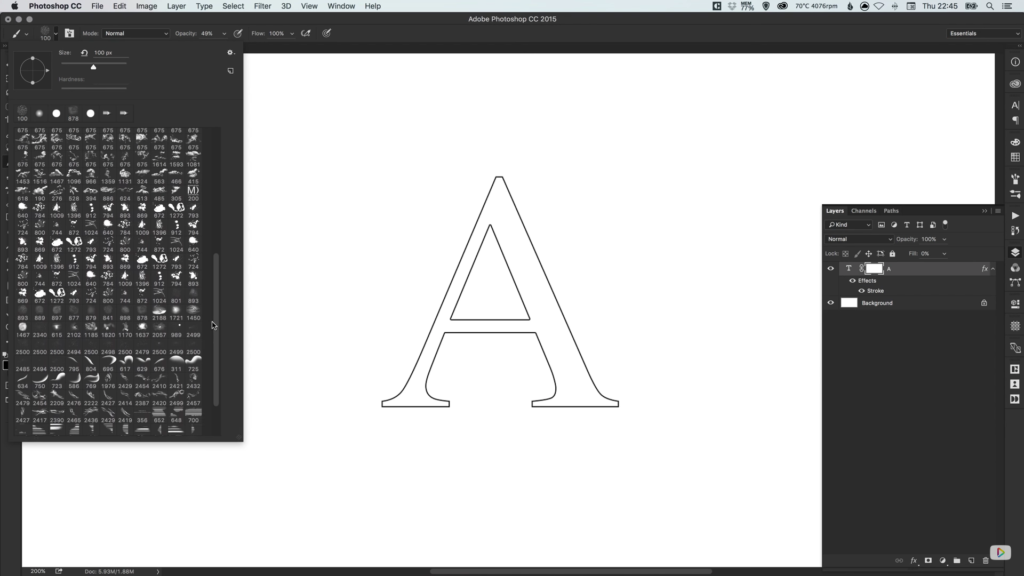
7. Next, select the layer mask itself, and select black as your foreground colour. Select the Brush Tool, and at the top next to your current brush type, you can click the arrow to reveal many more brushes that are available, and any custom brushes that you may have installed.
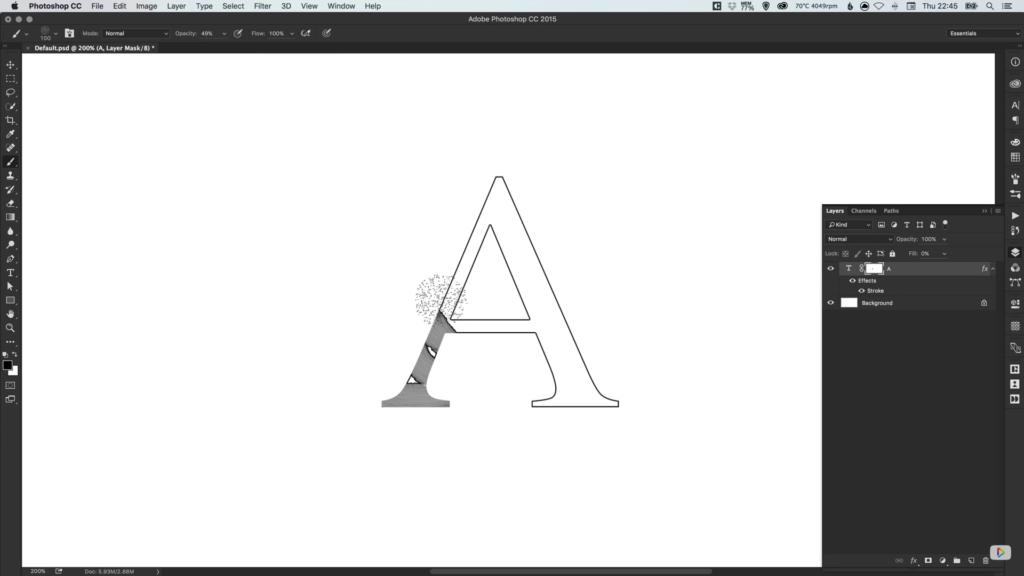
8. Select a brush style, and start painting over the letter by drawing on the layer mask.
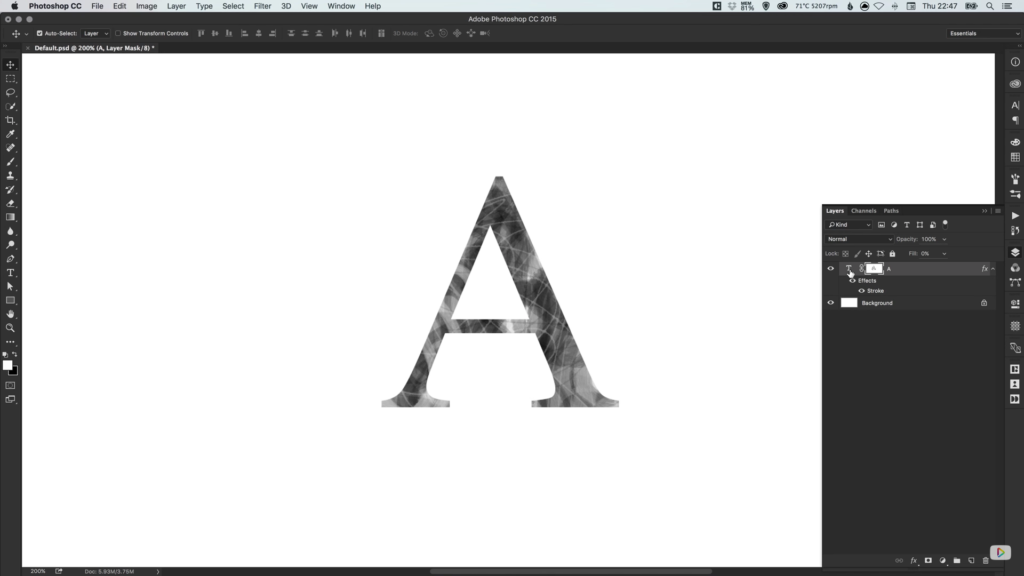
9. Try changing your brush, brush size, and the brush opacity, to create some weird and wonderful brush effects for your text!
Download Adobe Illustrator.
Read More at Create a Textured Letter in Photoshop
from Web Design Ledger http://webdesignledger.com/create-textured-letter-photoshop/


No comments:
Post a Comment