
In this tutorial, we’re going to learn how to quickly blur backgrounds in Adobe Experience Design CC (Adobe XD).
The Steps (1-8)
1. Create a New Artboard. For this tutorial, we’ll be using the iPad artboard, with the orientation being adjusted to Landscape in the Property Inspector.
2. Select the Rectangle Tool, Left-click and Drag to create a four-sided shape that is the same width and height as your artboard.
3. Next, Drag the image that you would like to blur, from your desktop or folder, into Adobe XD and on to the shape that we created in Step 2.
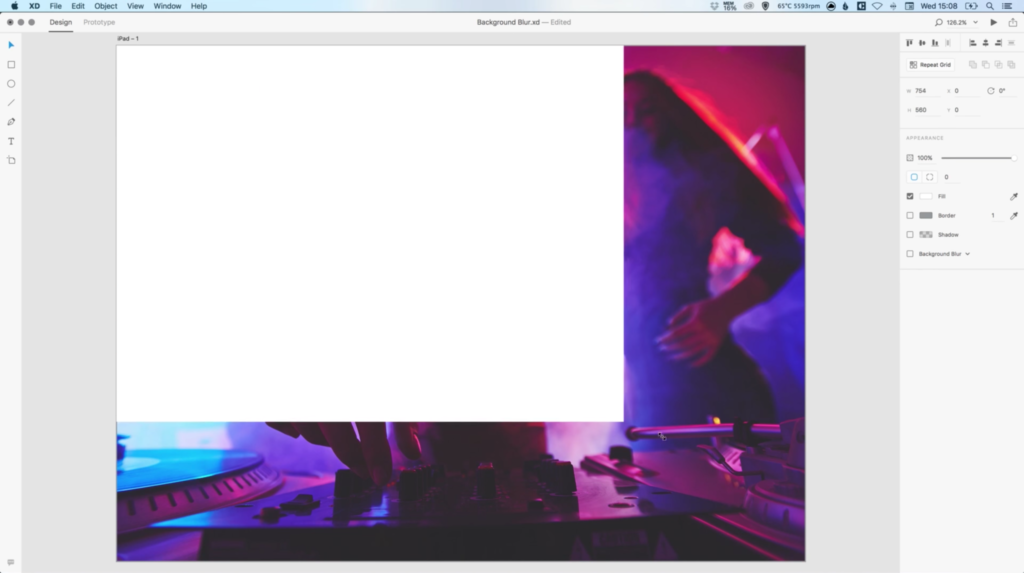
4. Repeat Step 2 and create a second four-sided shape, that again, is equal to the width and height of your artboard.
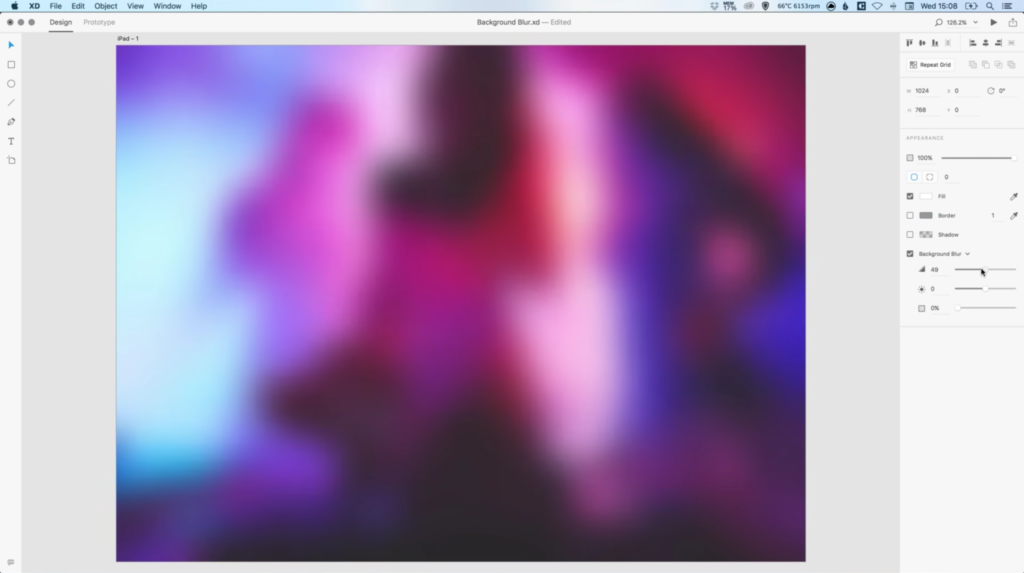
5. Select a Fill colour of white or #FFFFFF for this new shape, and in the Property Inspector, select the tick box Background Blur – this will blur the image behind the shape.
6. The options that appear underneath (from top to bottom) are Blur Amount, Brightness and Opacity. The Blur Amount adjusts how ‘blurred’ your image underneath the selected shape will be, and goes up to +50. The Brightness adjusts how light and dark affects your image, and can be adjusted as low as -50, and as high as +50. The Opacity adjusts the amount of transparency for the shape created in Step 4, and how visible your image underneath is. Opacity ranges from 0-100%.
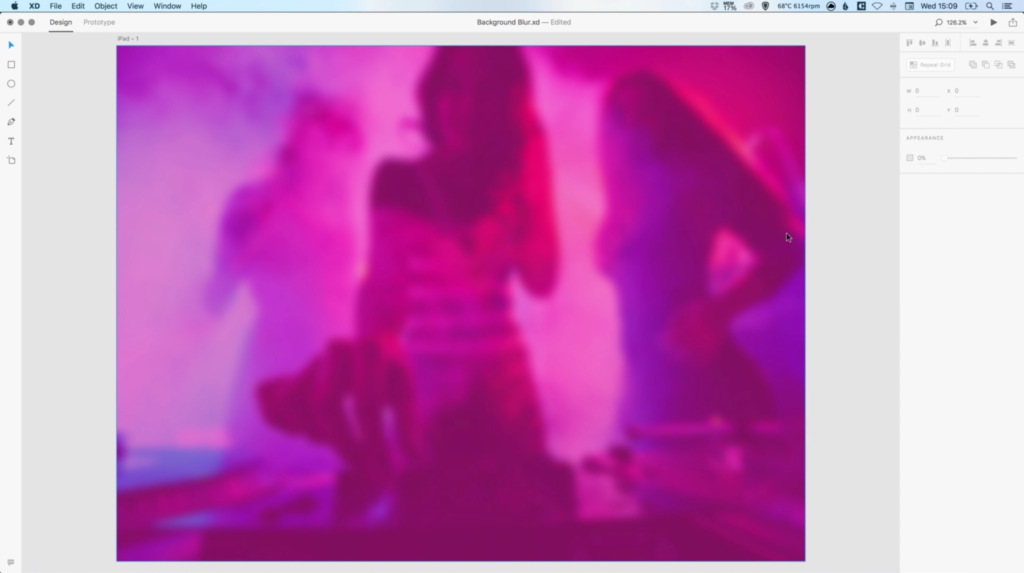
7. Selecting a different Fill colour and adjusting the Opacity slider below, allows any colour to display transparently over the image as an overlay.
8. The Background Blur effect can also be toggled on/off at any time in the Property Inspector.
Download Adobe Experience Design CC (Adobe XD).
Read More at How to Blur Backgrounds in Adobe XD
from Web Design Ledger http://webdesignledger.com/blur-backgrounds-adobe-xd/
No comments:
Post a Comment