In this tutorial, we’re going to learn how to create a neon text effect in Adobe Illustrator.
The Steps (1-8)
1. Create a New Document.
2. Select the Rectangle Tool, Left-click and Drag to draw a four-sided shape that covers the entire Width and Height of the artboard. Set the colour of this shape to black #000000.
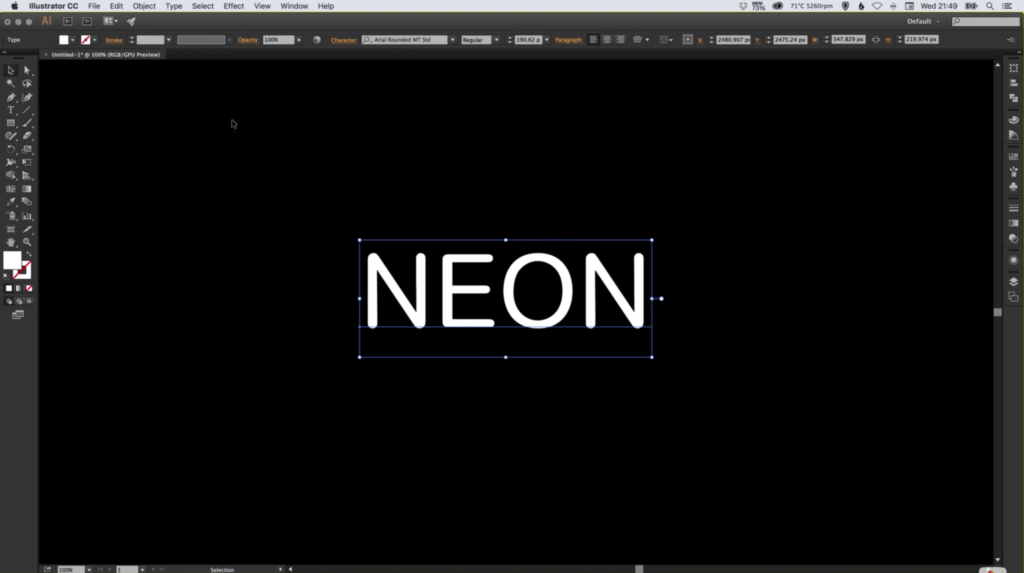
3. Select the Text Tool, Left-click anywhere on the artboard, type your text, and select a font of your choice.
4. Ensure that the text has a Fill colour of pink #E6007E, and go to Type > Create Outlines to convert the text into a shape.
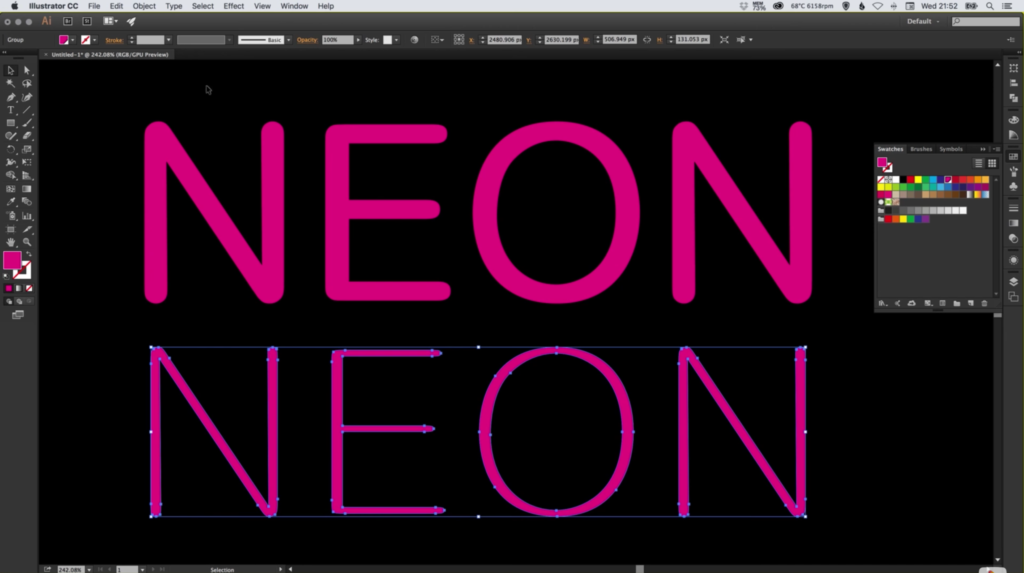
5. With the text selected, go to Object > Path > Offset Path, and set a minus/negative offset value (-5 for this tutorial) and click OK. The aim here is to create a copy of the text that is actually thinner, and fits inside of the original letters.
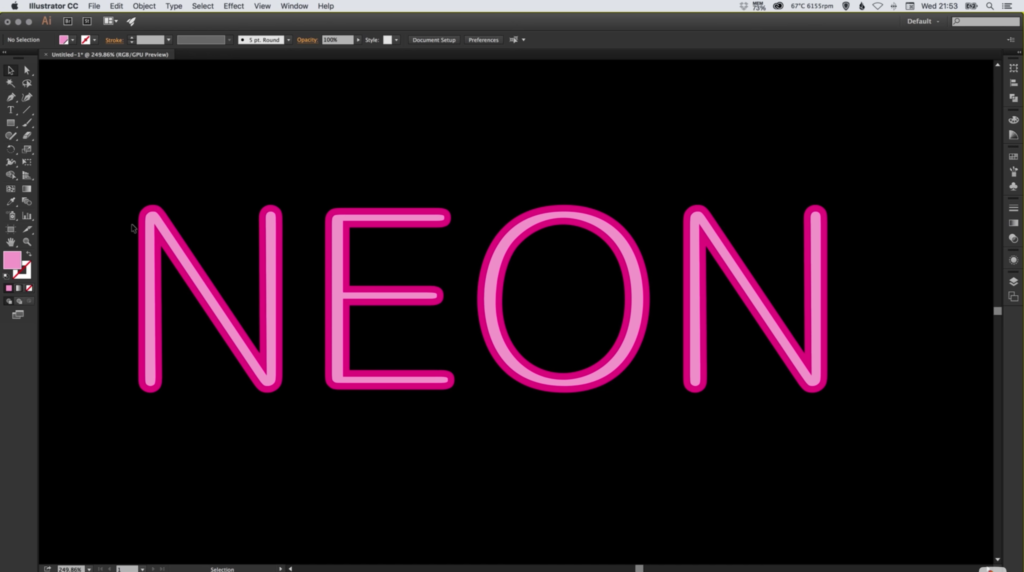
6. Give these thinner letters a lighter pink colour #EC8CC8.
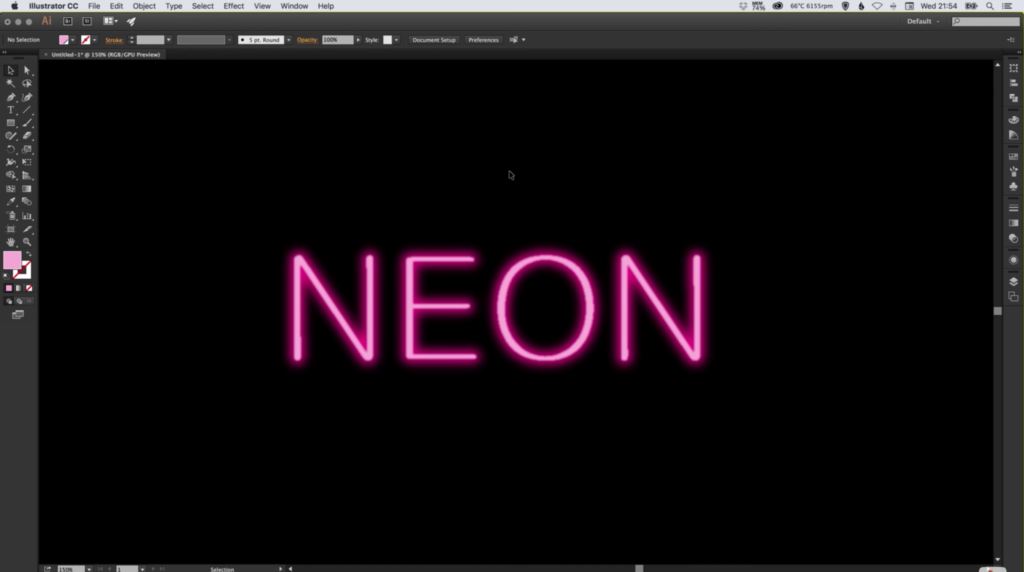
7. Next, select the darker pink letters and go to Effect > Blur > Gaussian Blur, and specify a value that gives a pink glow around each of the letters. Adjust the blur value depending on how much of a glow you would like around your letters.
8. You can also add a small amount of blur to the thinner light pink text too, in order to help it blend together with the other blurred letters more effectively (optional).
Read More at Create a Neon Text Effect in Illustrator
from Web Design Ledger http://webdesignledger.com/create-neon-text-effect-illustrator/
No comments:
Post a Comment