
In this tutorial, we’re going to learn how to create progressively larger dots along a spiral path in Adobe Illustrator.
The Steps (1-9)
1. Create a new document 800×800 pixels.
2. Left-click and Hold on the Line Segment Tool to reveal the dropdown menu and select the Spiral Tool.
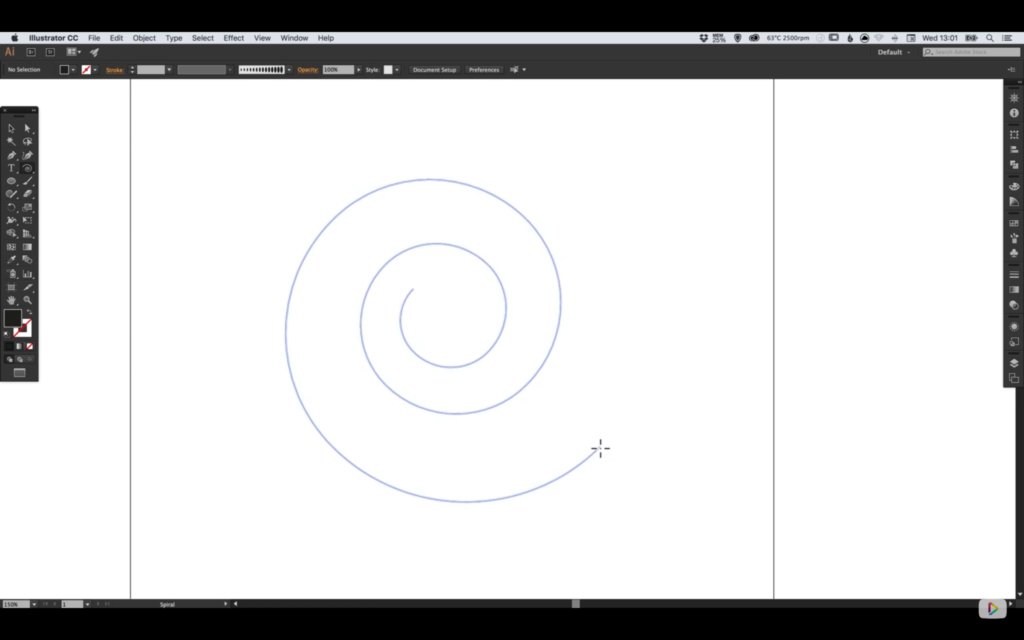
3. Left-click anywhere on the artboard to draw a spiral shape, using Alt and Cmd/Ctrl to adjust the line spacing and complexity of the spiral.
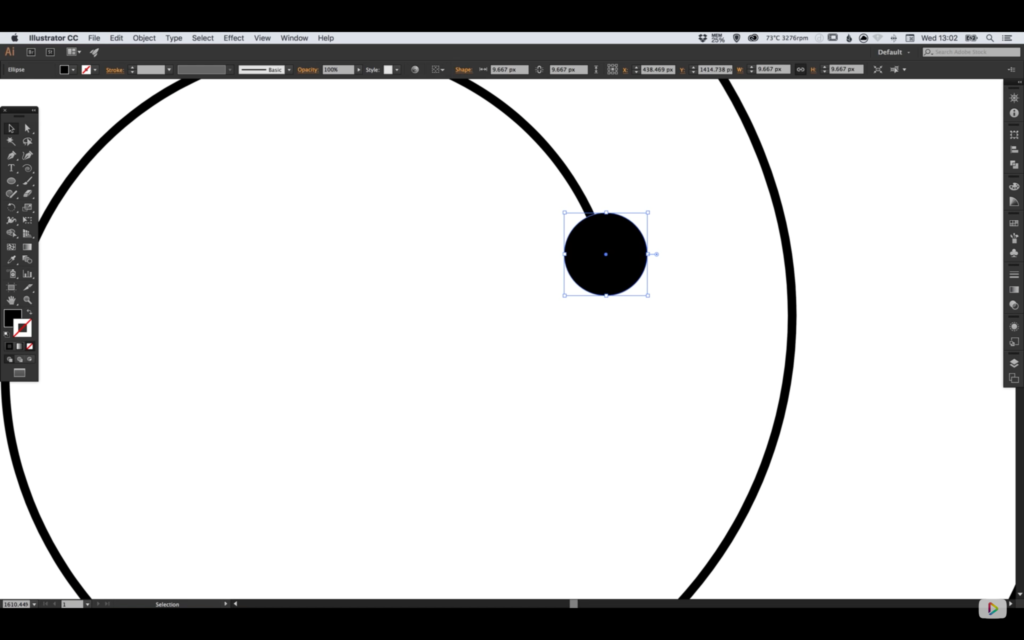
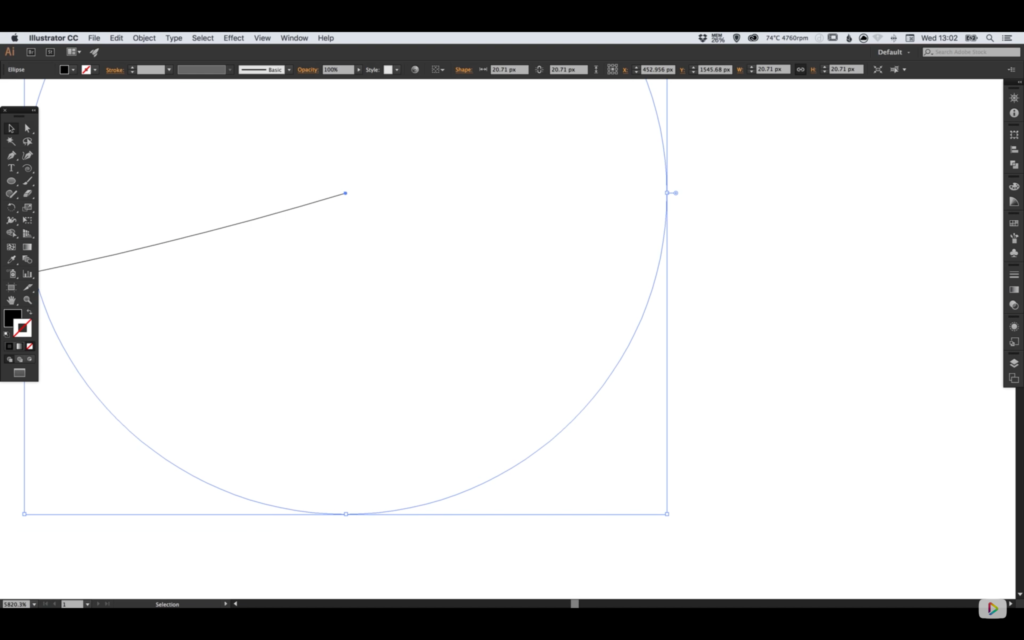
4. Next, select the Ellipse Tool and hold Shift to draw a small circle with a Black Fill. Centrally position this circle on the inner-most tip of the spiral.
5. Repeat Step 4 instead with a larger circle, and place this larger circle on the outer-most tip of the spiral.
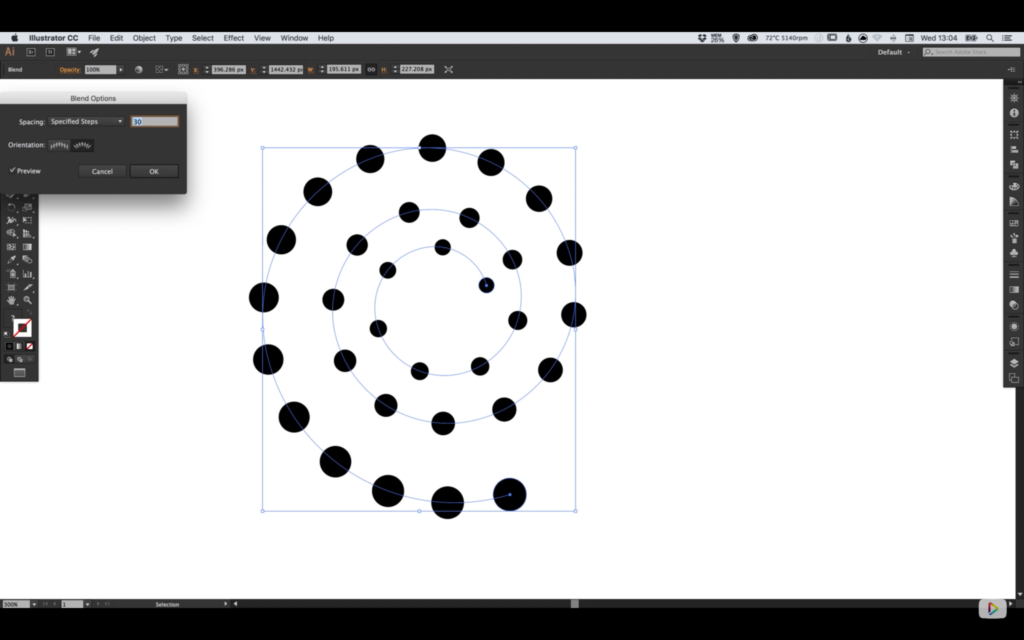
6. Hold Shift to select the two circles and go to Object > Blend > Blend Options. Enter 30 as the number of Specified Steps, and select Align to Path as the Orientation. Go to Object > Blend > Make, to see the additional circles added, connecting the two circles.
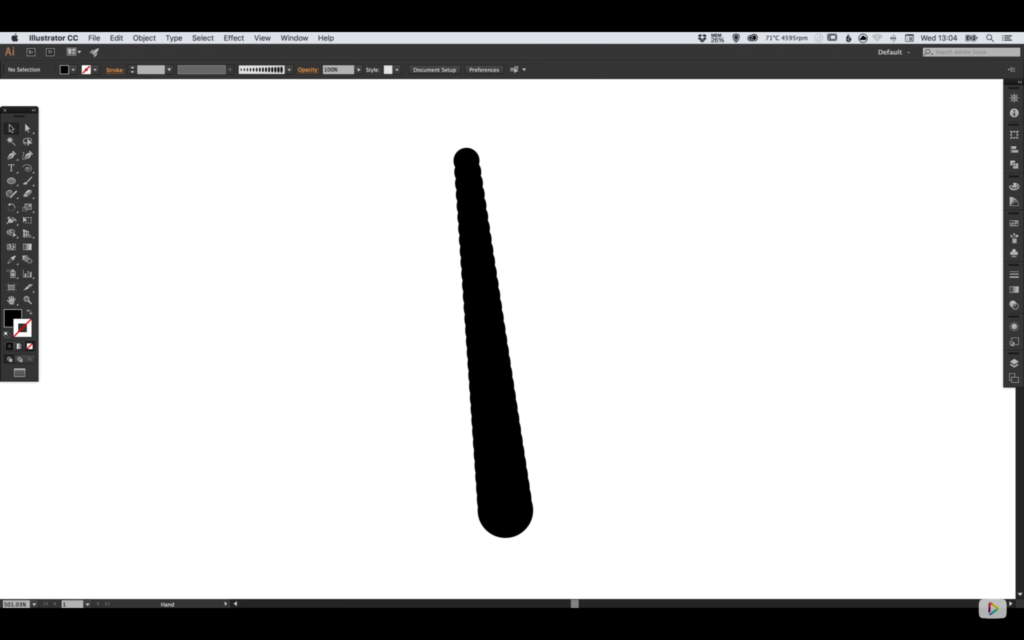
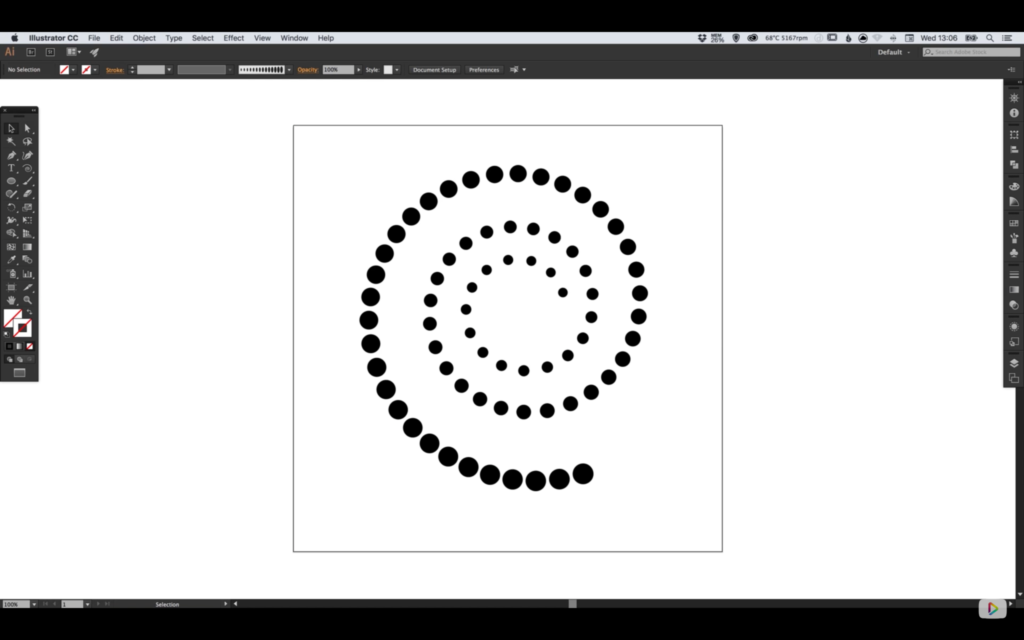
7. Select everything on the artboard and go to Object > Blend > Replace Spine to position all 30 circles along the ‘spine’ of the spiral.
8. Double-click on either the smallest or largest circle (created in Steps 4-5) to go inside the Blend Group, whereby editing either of these original shapes, will affect all of the other 30 Specified Steps in between.
9. The number of Specified Steps can also be edited further, by going to Object > Blend > Blend Options, and adjusting the settings as necessary.
Read More at Create Dots on Spiral Path in Illustrator
from Web Design Ledger http://webdesignledger.com/create-dots-spiral-path-illustrator/
No comments:
Post a Comment