
In this tutorial, we’re going to learn how to cut out hair in Adobe Photoshop.
The Steps (1-9)
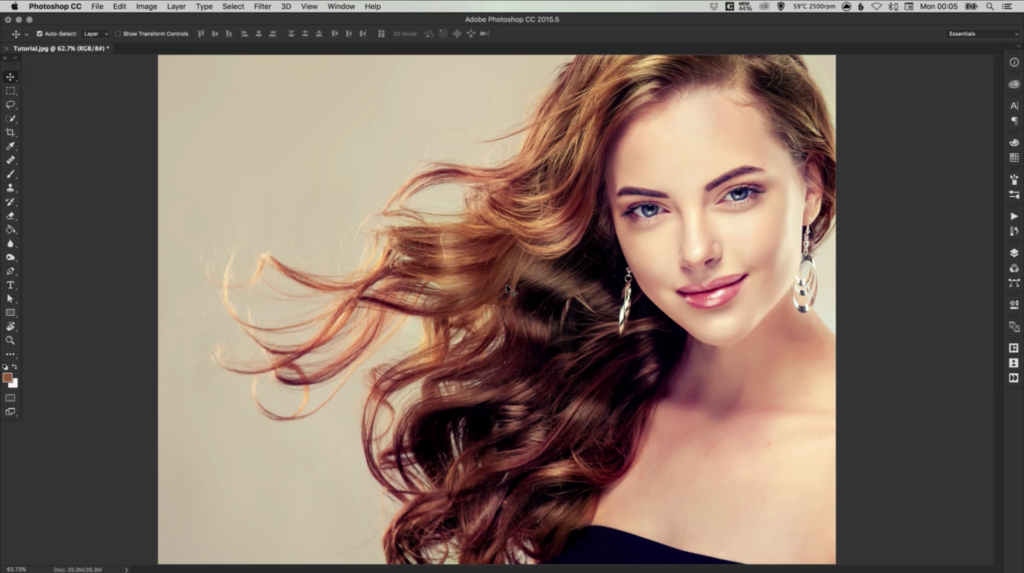
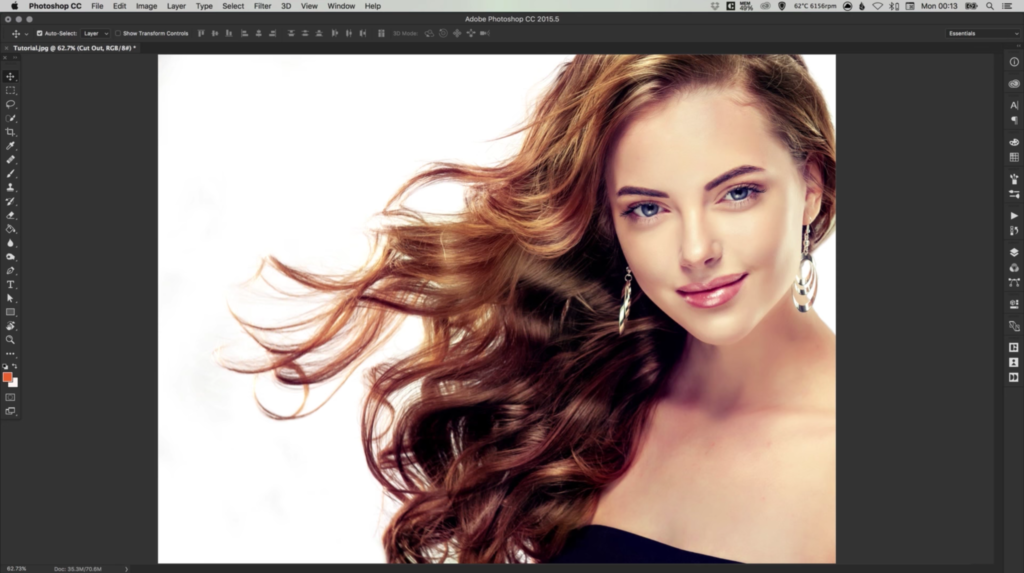
1. Open your photo in Photoshop.
2. Right-click the Background layer in the Layers Palette, and select Duplicate. Switch off the Background layer, and keep this hidden in case you need to use or reference it again in future.
3. Select the Background Eraser Tool, and select a circular shaped brush at 100px in size. Set the Hardness to 50%.
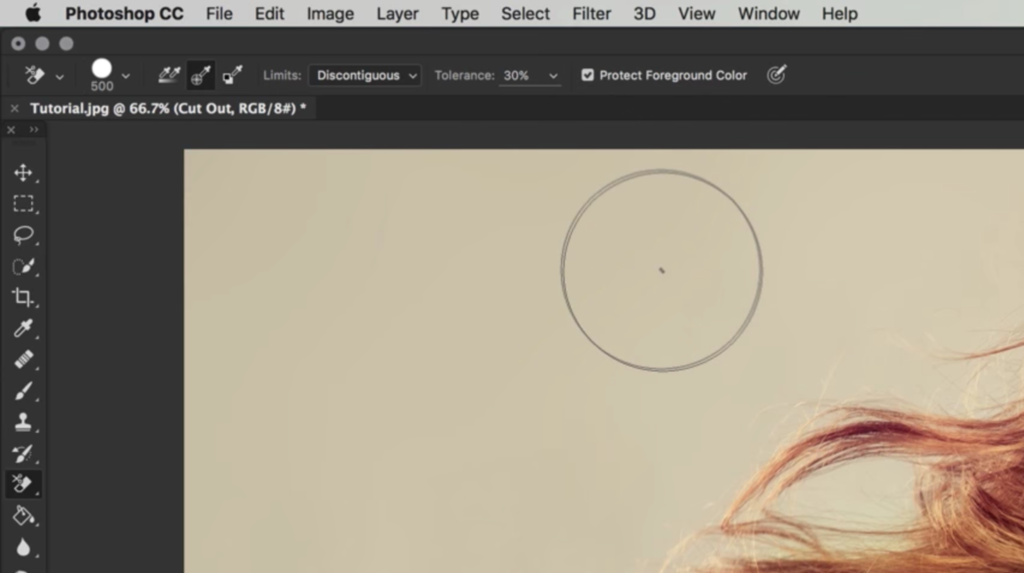
4. Along the top of the screen there are several other options for the Background Eraser Tool. Set the Sampling method to Sample Once, and set the Limits to Discontiguous.
5. Setting the Tolerance level will require a bit of trial and error, depending on the complexity of the hair in your photo. If the Tolerance is set too low, not enough of the background will be removed, and if set too high, the Background Eraser Tool will remove other parts of the photo as well as the hair. For this tutorial, the Tolerance was set to 30.
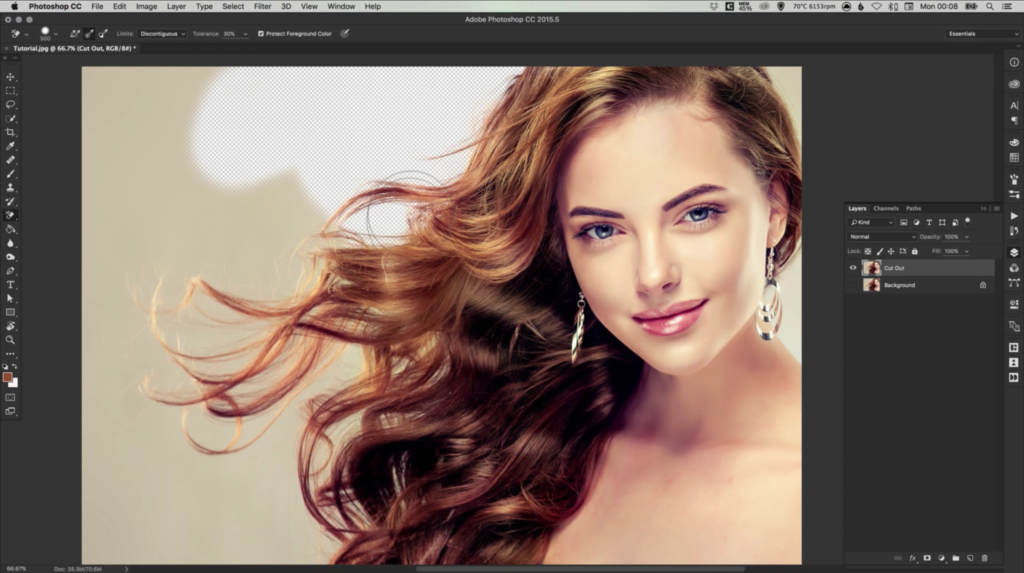
6. Using the Eyedropper Tool, you can also Left-click on part of the hair to sample this colour. Next, with the Background Eraser Tool selected, select Protect Foreground Colour in the box at the top of the screen. This will protect any hair (and similar shades) that matches the foreground colour. This step increases the likelihood that the Background Eraser Tool will only cut out the hair, and not remove other parts of the photo accidentally.
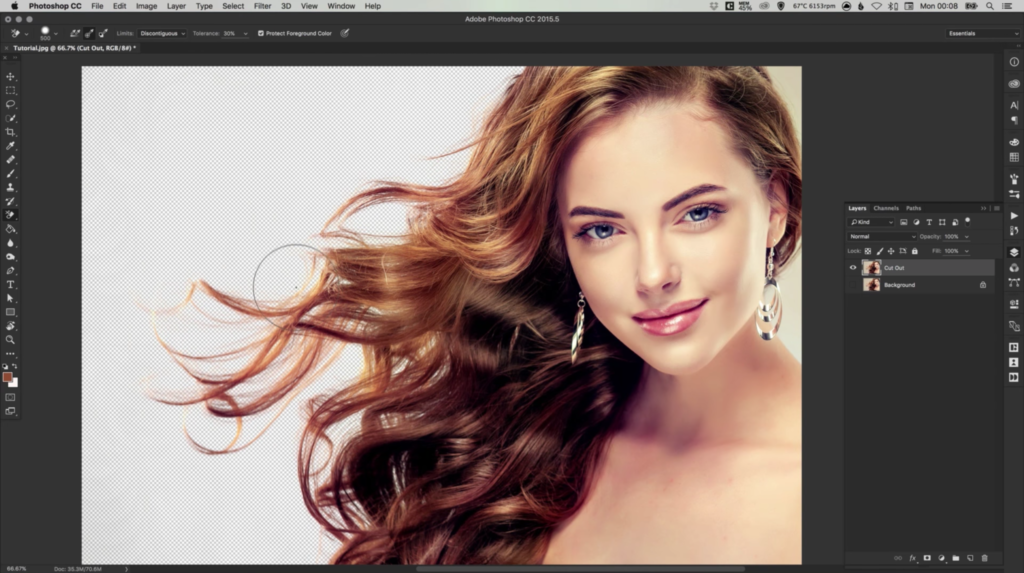
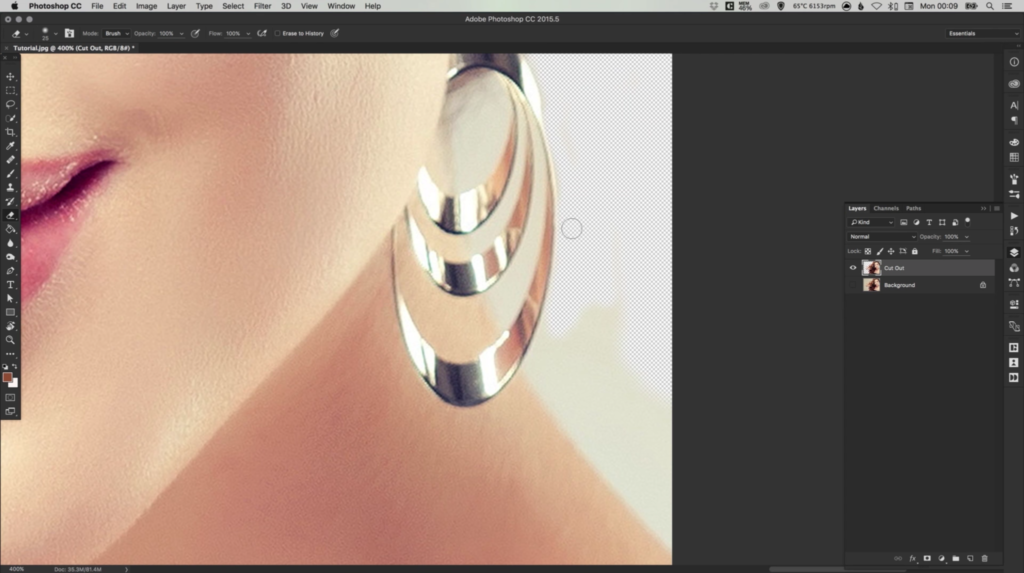
7. Once your settings are correct, Left-click on the background and continue to Drag over the image. If the settings are correct, only the background will be removed, leaving the hair cut out on a transparent background.
8. Any other parts of the photo that may have been accidentally removed, can be reversed by going to Edit > Undo. If the Background Eraser Tool cannot effectively remove the background in certain parts of the photo, simply switch to the normal Eraser Tool, set a suitable Brush Size and Hardness (between 50-100%), and remove the background manually. Take care when cutting out the photo manually, and zoom in/out where necessary using the Zoom Tool.
9. Once you have cut out the hair/photo on to a transparent background, you can also add a New Layer underneath this layer in the Layers Palette. Using the Fill Tool, you can add the selected Foreground Colour (eg. white) to the new layer underneath the photo layer, allowing this to work as a background behind the newly cut out photo.
Read More at How to Cut Out Hair in Photoshop
from Web Design Ledger http://webdesignledger.com/cut-hair-photoshop/
No comments:
Post a Comment