Animate a Logo in Adobe Muse. No Coding Skills Required.
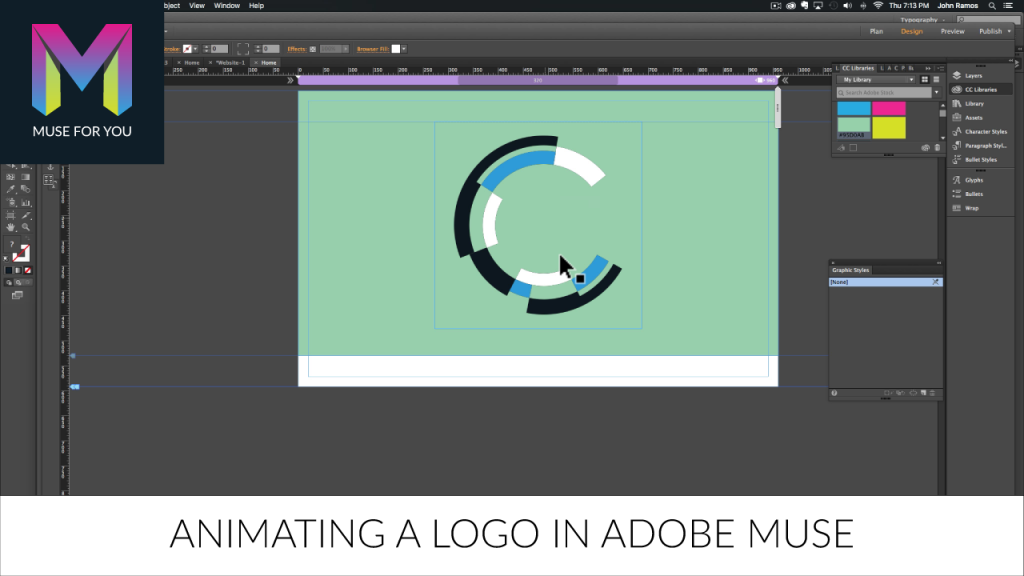
In this tutorial I will be going over how to animate a logo in Adobe Muse using the Muse Motion 2 Widget Powered by the Greensock Animation Platform (GSAP).
1. Open the logo in Adobe Illustrator.
2. Un-group the logo to be able to select all of the elements.
3. Change the colors of the logo if necessary.
4. Create a transparent square that is a bit larger than the logo. Send the square to the back.
5. Re-group the logo to align the perfect square and the logo. Align them vertically and horizontally so they are perfectly centered.
6. Un-group the logo.
7. Select each element individually with the square and paste each individual element into Adobe Muse.
8. Layer all elements on top of each other and assign the graphic style name motion1 through motion9 for each of the elements.
9. Open the Library Panel in Adobe Muse and drag and drop the “Muse Motion 2 – Add First” widget and place at the top of your Adobe Muse website. If you do not see the Library Panel go to Window > Library.

10. Drag and drop the “Muse Motion 2 – 2D Sequence,” below the “Add First” widget. We will be working mostly with the middle widget as these are the widgets that add animations to the elements on the Adobe Muse website. The “Beginning” and “End” widgets control the overall timing of the sequence and a few other options.
11. Add a rotation animation to the first middle Muse Motion 2 widget. Do this by going to “Rotate” and selecting “Enable Rotate.” Then enter in a 360 rotation value. The value can be negative. In the video tutorial the highest 360 rotation I enter is 1440. That is 4 rotations.
12. Change the duration of the rotation to 6 seconds or as long as you would like. The less time for the rotation the faster it will spin.
13. Copy and paste the first middle widget and change the graphic style name to “motion2.” Also add an earlier offset of 6 so that this animation starts at the same time as the first one. Change the rotation value to another variation of 360. The value can be negative if you would like the rotation to go in the opposite direction.
14. Repeat these steps for the rest of the elements. The graphic style name for each widget has to match the elements on the website.
15. Preview website in the browser and check animations.
*Note: Middle widgets need to be in between the “Beginning” widget and the “End” widget.
Watch the video above to see a demonstration of how to achieve this effect in Adobe Muse using the Muse Motion 2 widget found at http://museforyoushop.com.
For more video tutorials and widgets for Adobe Muse visit http://museforyoushop.com.
Happy Musing :).
Read More at Animating a Logo in Adobe Muse
from Web Design Ledger https://webdesignledger.com/animating-logo-adobe-muse/


No comments:
Post a Comment